Online Guitar Lessons Work Better When Practice Feels Frictionless
- Online Guitar Lessons Work Better When Practice Feels Frictionless
- Key Takeaways
- Why Online Guitar Lessons Feel Frustrating
- What Frictionless Lessons Should Look Like
- How Structure Makes Lessons Easier to Follow
- Clear Learning Path
- Fretboard Progression Steps
- Learn Notes Before Shapes on the Neck
- Build Fretboard Confidence With Intervals
- Move From Scales to Useful Chords
- Use Theory When You Improvise
- Theory Guides Improvisation
- Apply Scales Musically
- Why Random Videos Slow Your Progress
- Fix the Most Common Online Guitar Mistakes
- Get Faster Feedback With Zoom Lessons
- Use Better Camera Angles for Guitar
- Close-Up Fingering View
- Two-Camera Lesson Setup
- Angle For Fretboard Clarity
- Improve Sound Quality in Virtual Lessons
- When Online Lessons Beat In-Person
- Faster Skill Checks
- Clearer Lesson Records
- Less Travel, More Practice
- Start With a Practice Path You Can Follow
Online guitar lessons work better when your practice feels easy to follow. You learn faster when each step is clear, from notes to intervals, scales, chords, and improvisation. A good lesson shows the full neck, gives quick feedback, and keeps sound and camera views sharp. Progress tracking helps you see what’s improving and what still needs work. With a simple plan, you won’t feel lost, and the next step starts to open up.
Key Takeaways
- Clear lesson goals and a notes-to-improvisation roadmap keep practice focused and prevent random licks.
- Step-by-step pacing helps students stay oriented as they move from notes to intervals, scales, chords, and improvisation.
- Showing the full fretboard, not just isolated shapes, builds stronger neck-wide understanding and reusable patterns.
- Fast visual and audio feedback through Zoom helps correct mistakes quickly and keeps progress moving.
- Progress tracking and replayable lesson records make it easy to see what improved and what still needs work.
Why Online Guitar Lessons Feel Frustrating

Online guitar lessons can feel frustrating when you don’t know what to practice next. Without clear Lesson goals, you can drift into random licks and lose your way.
That makes you feel alone on the fretboard. A simple practice routine helps you move from Notes to Intervals, then Scales, Chords, and Improvisation.
Strong feedback loops matter too, because slow replies can leave you stuck. Progress tracking shows what’s improving and what still needs work.
When you can backtrack, repeat, and fix small problems, you start to feel part of the music and the group.
What Frictionless Lessons Should Look Like
A good lesson should make everything feel clear from the start.
You should see a path from notes to improvisation, so you never feel lost.
Good lesson pacing helps you move step by step and stay with the group.
Your teacher should show the whole neck, not just shapes, so each sound makes sense.
Close camera views help you copy finger placement and fix small mistakes fast.
A stable Zoom setup keeps audio clear.
With progress tracking and follow-up notes, you can check what you learned and jump back in with confidence.
How Structure Makes Lessons Easier to Follow

You’ll learn faster when your lessons follow a clear path from notes to improvisation.
Each step should build on the one before it, so you don’t feel lost or stuck with random shapes.
Good structure also shows you where notes live across the neck, making every new idea easier to use.
Clear Learning Path
When lessons follow a clear path, learning guitar feels much easier and less confusing. You know what comes next, so you can relax and keep going with confidence.
Good lesson sequencing helps you move from notes to intervals to scales, then chords and improvisation.
Practice checklists also keep you on track each day. You won’t waste time guessing or bouncing around.
Look for lessons that show how each idea works in real music. If you feel stuck, you can back up, review, and try again.
That clear path helps you belong in the process and grow faster.
Fretboard Progression Steps
Because guitar learning feels easier with order, start your fretboard path in a fixed sequence: notes, intervals, scales, chords, then improvisation. This roadmap helps you feel steady and welcome.
| Step | Focus |
|---|---|
| Notes | Find every name |
| Intervals | See the gaps |
| Scales | Move across neck |
| Chords | Hear support |
| Improvisation | Speak freely |
Practice the same ideas in several spots, not one shape. Use context, so each lick matches a chord. If you get stuck, go back with spaced retrieval. Keep metronome timing tight. In online lessons, good camera views help your teacher guide you.
Learn Notes Before Shapes on the Neck
Think of the fretboard like a map with hidden landmarks. You can find your way faster when you learn note names first.
Start with C, D, E, F, G, A, and B on every string.
Then shapes make sense because you know what you’re fretting, not just where your fingers land.
This helps you feel less lost as you move up or down the neck.
Try Sight reading practice and ear training games while you name notes.
Use a steady fretboard path so you cover the neck in order.
Then play, create, and connect those notes to real songs.
Build Fretboard Confidence With Intervals
Now that you can name notes on the neck, intervals help you see the next step. You stop guessing and start feeling distance from the root. Map each interval across the whole neck so you know what to play next.
Follow the path Notes, Intervals, Scales, Chords, then Improvisation. That bridge keeps you from getting stuck in tiny shapes.
Use structured drills with rhythm mastery and metronome discipline so every area gets covered. Play short phrases with interval targets right away.
If a spot feels hard, revisit it with feedback until the fretboard clicks, and you feel at home.
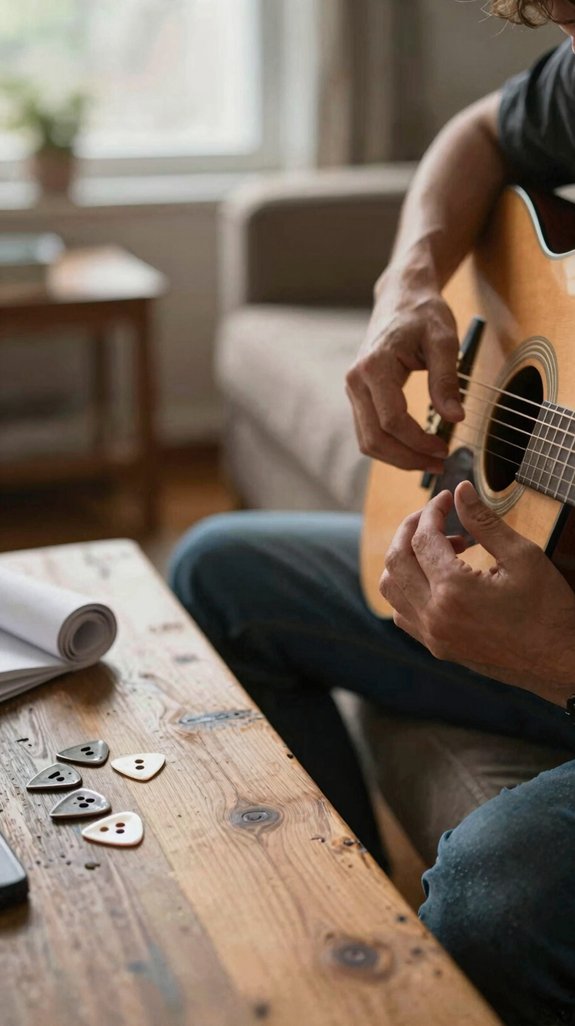
Move From Scales to Useful Chords
Once your scale shapes feel clear, you can turn them into useful chord shapes.
Start by finding the root, 3rd, 5th, and 7th on every string.
Then move from your scale spot to the nearest chord grip by changing one thing at a time. Keep your left hand close.
Try rhythm first practice: play the chord cleanly, then a short scale run, then hit a chord tone on a strong beat.
Use chord tone listening so you hear how the scale fits the chord.
Repeat this scale-to-chord drill until it feels natural and friendly.
Use Theory When You Improvise
When you improvise, let theory guide your choices instead of guessing shapes. Start with chord tones, then add the scale notes that fit the chord.
That way, your solo sounds musical, and you can explain every phrase you play.
Theory Guides Improvisation
Good improvisation doesn’t come from random notes; it grows from a clear theory path.
You move from Notes to Intervals to Scales to Chords to Improvisation, and each sound has a reason.
Ear training helps you hear where you want to land.
Chord tone mapping shows you which notes matter most.
Use feedback loops by recording yourself, then listen and fix weak spots.
Practice journaling keeps your ideas clear and steady.
Try short exercises over a chord progression.
When you connect theory to sound, you feel less lost and more like part of the music.
Apply Scales Musically
To make scales sound musical, you need to give each note a job. Start with the chord, then choose the right scale notes. That’s chord tone targeting.
When you improvise, aim for roots, thirds, and fifths on strong beats. Use nearby notes to lead there smoothly. This keeps your solo connected, not random.
Practice short ideas with metronome synchronization so your timing stays steady. If a shape feels fuzzy, go back and fix that one spot. Then return and apply it again.
You’ll hear theory come alive, and you’ll feel like you belong in the music.
Why Random Videos Slow Your Progress
Random YouTube licks can feel exciting, but they often slow you down. You jump from clip to clip and miss the path.
That leaves you noodling, not growing with friends who practice on purpose.
- You skip context.
- You lose fretboard clarity.
- You miss note links.
- You weaken Practice habit building.
- You break goal setting routines.
Without a step-by-step plan, you repeat cool moves without backtracking. Your fingers may move, but your ideas don’t connect.
Real progress needs notes, intervals, scales, chords, then songs. When you follow that path, practice starts to click.
Fix the Most Common Online Guitar Mistakes
Now let’s fix the mistakes that slow online guitar progress the most. You need lesson pacing strategies that move you from notes to intervals, then scales, chords, and improvisation.
That path keeps you from getting stuck noodling. Learn patterns as connected shapes across the neck, not lonely boxes.
When you play a lick, tie it to the chord and scale it fits, then use it in a song.
Build guided practice habits with close-up demos and step-by-step fretboard maps.
Keep Zoom sound clear and steady so your ear hears your real timing and touch.
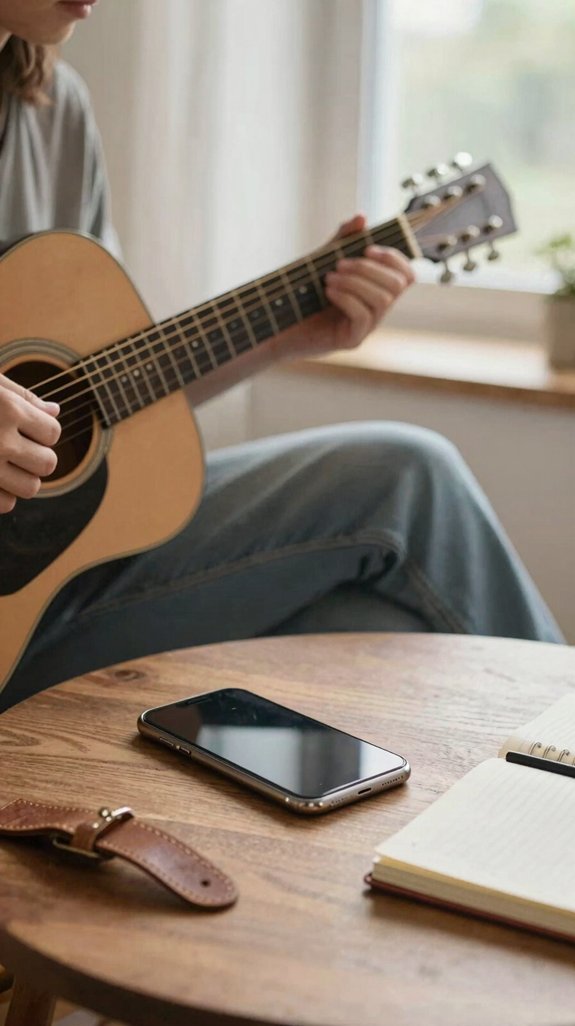
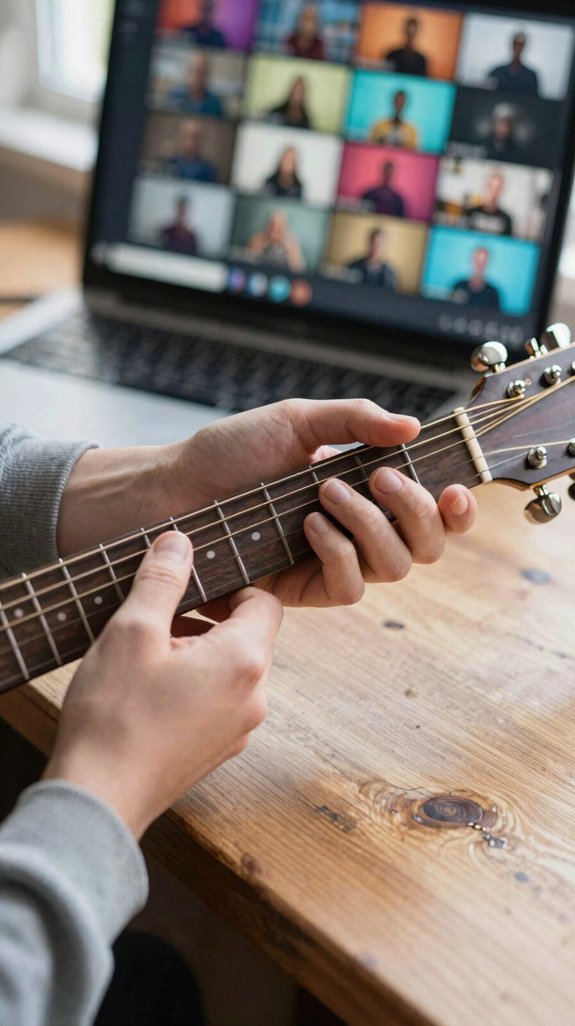
Get Faster Feedback With Zoom Lessons

Because Zoom puts you face to face with your teacher, feedback can happen much faster. You see their demo. They see your hands. That quick loop helps you fix mistakes before they stick.
- Use a computer or laptop for a bigger view.
- Keep your fretboard in a clear, close frame.
- Turn on Original Sound for Musicians.
- Stay on a strong internet connection.
- Build practice routine design and goal tracking systems around quick check-ins.
With Zoom, you don’t wait long to learn what to change. Your teacher can guide finger placement, timing, and touch right away. That makes you feel seen, supported, and ready to grow.
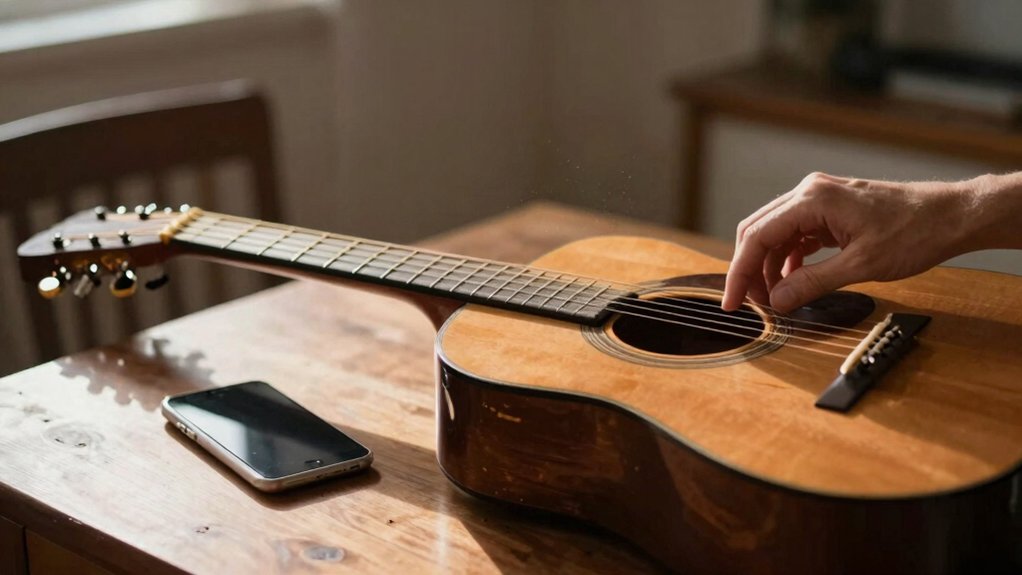
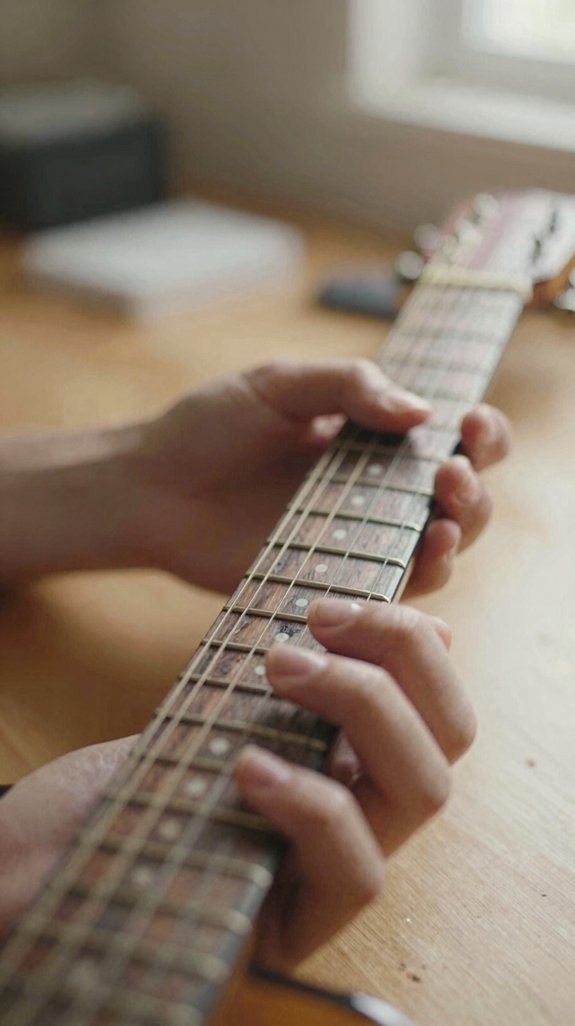
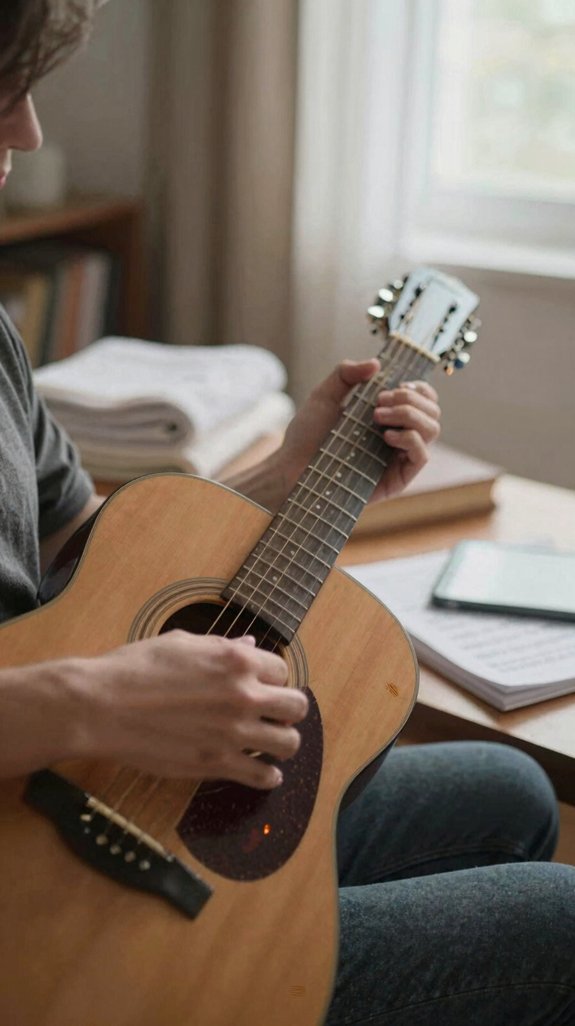
Use Better Camera Angles for Guitar

Set your camera close to the fretboard so your teacher can see every finger distinctly. If you can, add a second camera for your picking hand so both sides of your playing show up well. Tilt the guitar neck toward the lens and adjust the angle until your fretboard looks sharp and easy to read.
Close-Up Fingering View
A close-up camera angle makes your fretting hand much easier to see. That’s one of the best student camera tips for hand placement accuracy. You belong in a lesson where every finger is clear.
- Keep the fretboard in tight view.
- Show your fingertips, not your whole room.
- Use Zoom’s Original Sound for better tone.
- Record and watch back the same angle.
- Fix small slips before they grow.
This close shot helps your teacher spot fretboard stuff fast. You’ll get feedback sooner, and you’ll feel more confident each time you play.
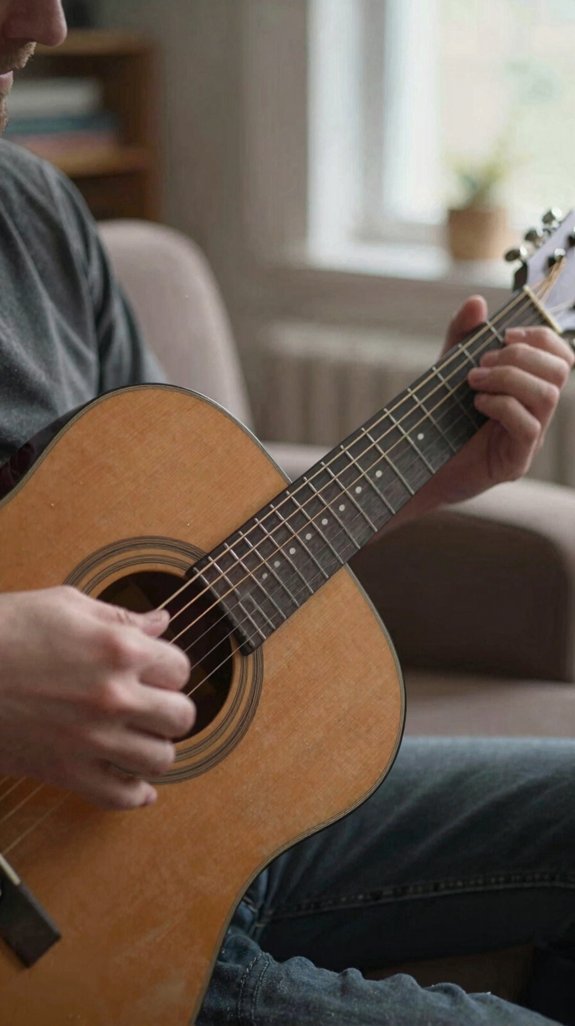
Two-Camera Lesson Setup
Often, the best guitar lesson setup uses two cameras instead of one. You can use a wide shot for your whole body and chord changes.
Then add a tight camera for your fretting hand and string contact. This helps your teacher spot small issues fast, and it helps you feel seen.
Make sure your camera lighting is bright and even.
Keep both cameras on a sturdy tripod or stable mount. If you use Zoom, place the main view straight on.
On a larger screen, you’ll track hand moves better and stay in the lesson groove.
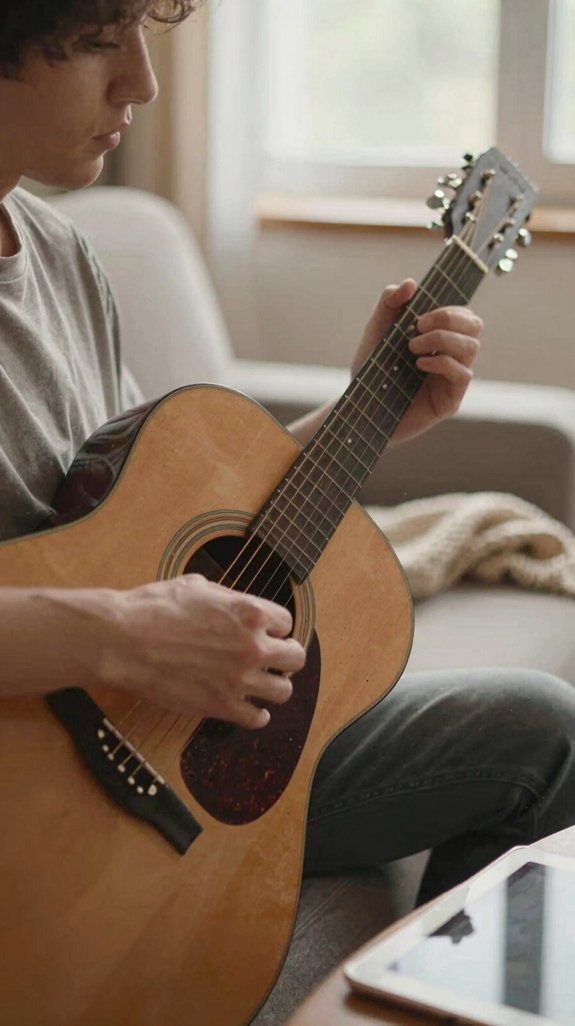
Angle For Fretboard Clarity
For clear fretboard views, place your camera so it looks straight at your fretting hand. You’ll help your teacher spot clean finger placement and smooth slides.
- Keep the neck fully in frame.
- Use steady light so shapes stay clear.
- Set the lens a bit back, then zoom in.
- Try dual views for practice routines and lesson goals.
- Test your best angle before class, and adjust during the lesson.
This cuts distortion and helps screen recordings show every note. You’ll feel part of a focused guitar crew, learning with less guesswork and more confidence.
Improve Sound Quality in Virtual Lessons
To hear your guitar more distinctly online, start with better audio settings.
Turn on Zoom’s Original Sound for Musicians to cut the muddy tone.
Use a computer or laptop when you can, since a bigger screen helps you hear and see more clearly.
Keep your internet steady so notes don’t drop out mid-phrase.
Set your camera so you can see finger placement and picking.
Good lighting tips help your teacher guide you, and less background noise keeps everyone in tune.
Save lesson notes or clips so you can review details later and keep growing with your group.
When Online Lessons Beat In-Person
Online lessons can beat in-person when you need fast skill checks and clear records.
You can replay the same video or PDF anytime, so you don’t get stuck waiting for the next class.
You also save travel time and use more of it to practice and improve.
Faster Skill Checks
Sometimes, online guitar lessons help you check your skills faster than in-person lessons. You can set learning goals and use progress tracking to see if each step sticks. You can try this path:
- Notes
- Intervals
- Scales
- Chords
- Improvisation
At home, you can replay a clip, reread a tip, and fix mistakes right away.
A coach can also spot finger issues with Zoom and close camera angles. That makes your check-ins feel personal and quick.
If lag slows a jam, save that for later. With clear sound, you’ll hear timing and touch better.
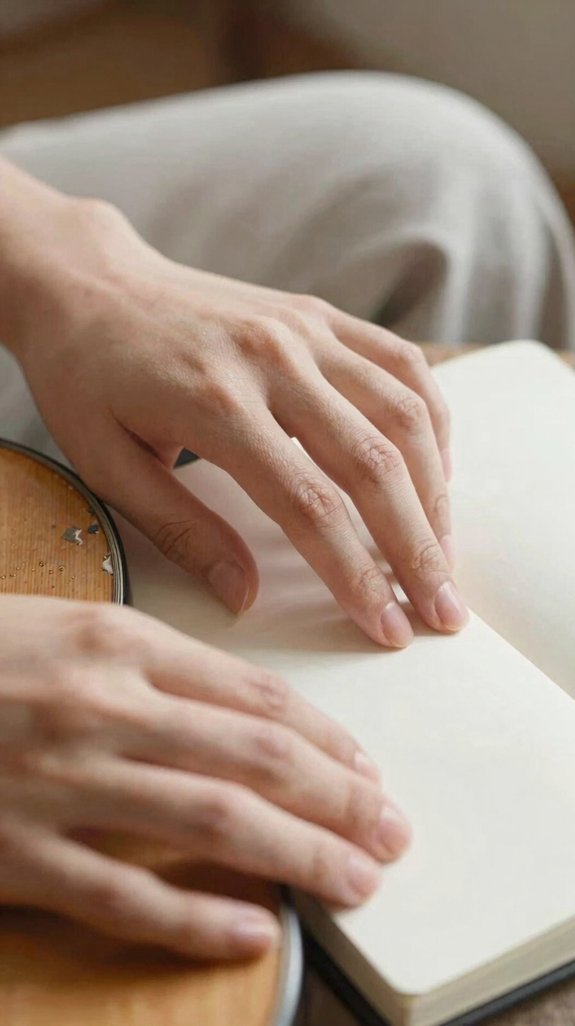
Clearer Lesson Records
When you practice at home, evidently lesson records can make a big difference. Online lessons give you replayable exercises and notes you can trust. You can open an email, watch a clip, and fix one chord.
| Record | Use |
|---|---|
| Text notes | Remember steps |
| Photos | Check hand shape |
| Video clips | Replay details |
| Audio | Hear tone clearly |
| Feedback | Guide practice |
Your instructor can give direct instructor feedback with closeups and two cameras. Then you can review it later. If you miss a step, you can backtrack fast. That helps you feel included, capable, and ready to grow.
Less Travel, More Practice
Because you don’t spend time driving, you can spend more time practicing. That extra Travel time turns into practice time, and that helps you grow faster. Online lessons also give you flexible scheduling, so you can fit music into busy days. You can watch replayable lessons again when a chord feels tricky.
- Review a riff after class
- Fix weak spots right away
- Follow a clear Notes-to-Chords path
- Keep feedback easy with Zoom
- Recheck recordings when you need help
This kind of setup helps you feel part of a group that’s learning together.
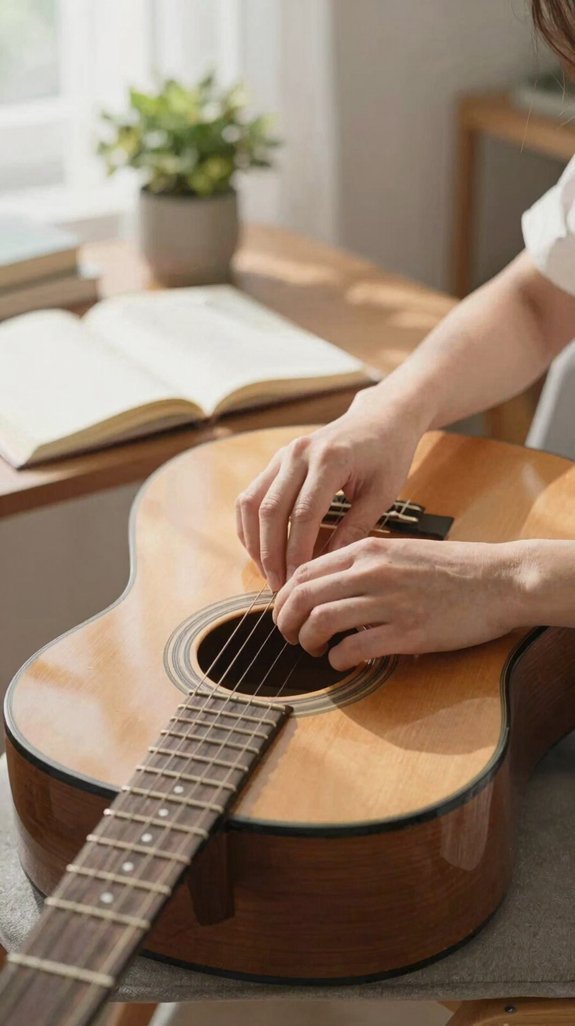
Start With a Practice Path You Can Follow

A good practice path gives your lessons a clear order, so you always know what comes next.
Student goal setting helps you move from Notes to Intervals, then Scales, Chords, and Improvisation.
Use habit tracking, measurable milestones, and session checklists to keep each step steady and friendly.
You’ll learn fretboard relationships across the neck, so shapes start to make sense.
Focus on one concept each session and practice until it clicks.
If something feels weak, go back and replay the lesson.
In live Zoom lessons, you can ask for help fast and feel part of a group.