Easy Science Experiments for Kids That Make Science Come Alive
- Easy Science Experiments for Kids That Make Science Come Alive
- Key Takeaways
- Safety Tips for Easy Science Experiments
- Choose Easy Science Experiments by Mess Level
- Low-Mess Color Experiments
- Moderate-Mess Reaction Activities
- Big-Mess Outdoor Projects
- Make Rainbow Walking Water With Paper Towels
- Create Fizzing Colors With Baking Soda
- Reveal Invisible Ink Spy Messages
- Materials And Setup
- Heat Reveals Messages
- Test Oobleck and Homemade Slime
- Launch a Balloon Rocket With Air
- Build an Easy Science Lava Lamp
- Make a Rainbow in a Jar
- Gather Colorful Liquids
- Layer By Density
- Watch The Rainbow Form
- Make Rain in a Jar
- Ask Questions During Every Experiment
You can make science come alive with colorful, fizzy, hands-on experiments at home. Try walking water with paper towels to watch colors travel and mix. Create fizzing colors with baking soda and vinegar on a tray. Build a lava lamp to see bubbles rise through oil. Always use adult help for heat or chemicals, protect your eyes, and clean up together. Next, you’ll uncover simple steps and questions for each experiment.
Key Takeaways
- Start with low-mess color experiments like walking water, Skittles patterns, and coffee-filter chromatography to explore mixing and capillary action.
- Create a rainbow-in-a-jar by slowly layering honey, soap, colored water, oil, and rubbing alcohol to investigate density.
- Make fizzy reactions memorable by combining baking soda and vinegar on a tray, while wearing eye and skin protection.
- Build a balloon rocket on a string to see Newton’s third law as escaping air pushes the balloon forward.
- Ask children to predict, observe, record changes, and discuss what they would test differently after each experiment.
Safety Tips for Easy Science Experiments
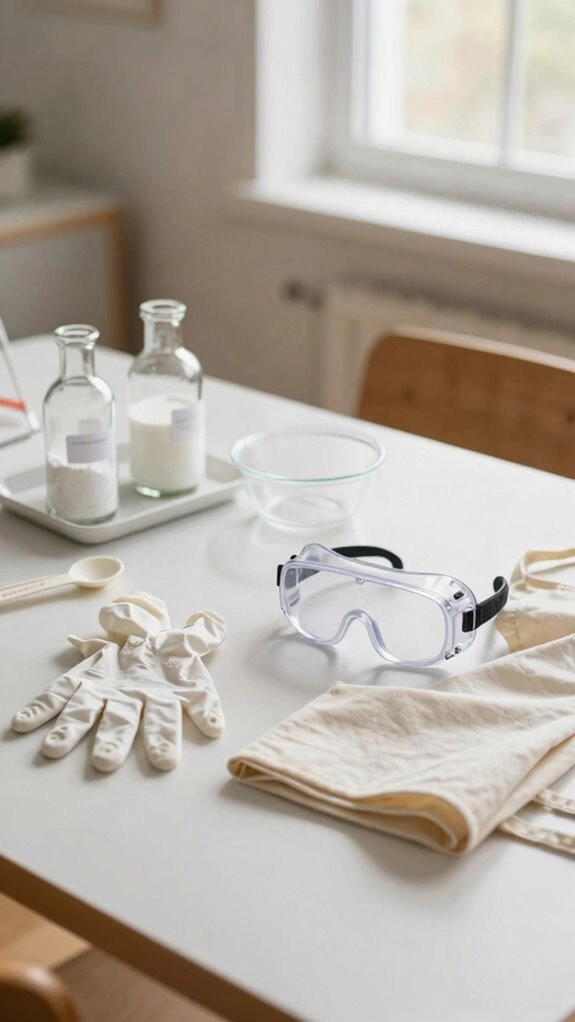
Before you begin, set up a safe space for every science experiment. You’re part of a careful science team when you follow simple rules.
Ask an adult to supervise anything involving heat. Keep lemon juice and other chemicals away from your face and eyes.
Wear eye and skin protection for vinegar and baking soda activities.
Do fizzing projects on a tray in a well-ventilated area.
Never taste materials, even food coloring.
Keep a fire extinguisher nearby for flame activities, and stay safely back.
Ask about observations as you work.
Then encourage safe cleanup: wash hands thoroughly and put supplies away together.
For foam reactions using hydrogen peroxide, wear gloves because hydrogen peroxide can irritate skin.
Choose Easy Science Experiments by Mess Level
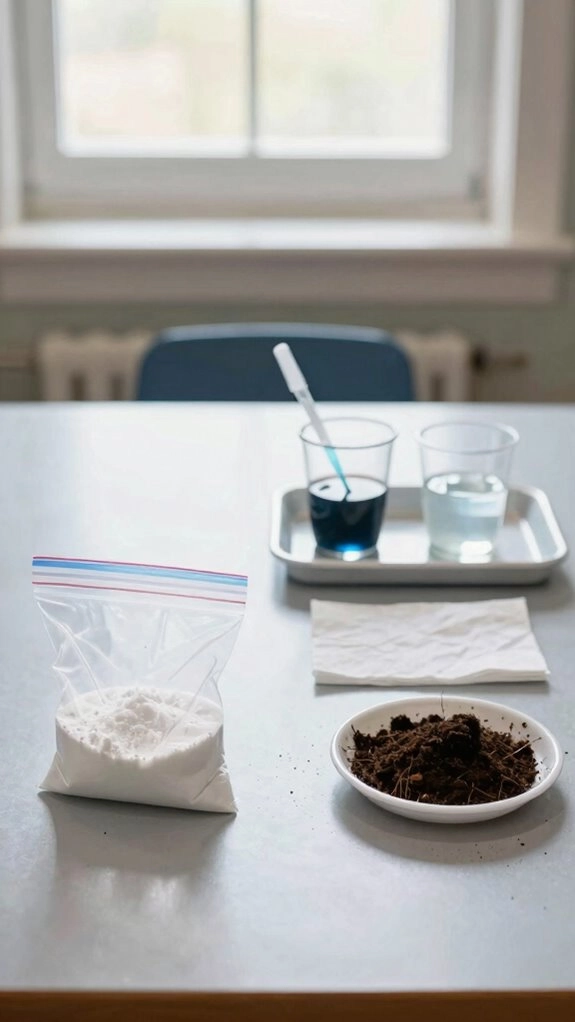
You can start with low-mess color experiments using cups, paper towels, and water.
Try moderate-mess reactions on a tray when you’re ready for fizzing bubbles.
Save big-mess outdoor projects for washable spaces and easy cleanup.
For outdoor projects, a baking soda and vinegar reaction releases carbon dioxide gas that creates fizzy bubbles and pressure.
Low-Mess Color Experiments
Bright color experiments can feel magical without leaving a big cleanup behind. You can make a Rainbow in a Jar by slowly layering honey, dish soap, water, oil, and rubbing alcohol. Each liquid forms a band because of density.
For moving colors, connect cups of red, yellow, and blue water with paper towels. After an hour, you’ll see color travel into empty cups.
Try Skittles and water on a plate to watch pigments spread.
Magic milk science and coffee filter chromatography also let your group investigate color carefully. Choose trays and clear cups, and everyone can share the surprise without a big mess.
Moderate-Mess Reaction Activities
Moderate-mess reaction activities bring science to life with foam, fizz, and bubbles. Set up together on newspaper or a plastic mat.
Try elephant toothpaste in a tray with eye protection.
Yeast and hydrogen peroxide create a speedy foam surge.
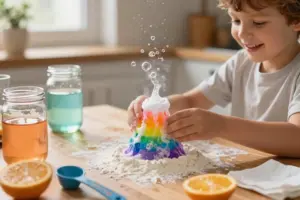
Make fizzing color by pouring vinegar over baking soda and food coloring.
Ask “what changes?” after each reaction.
You can also drop an antacid tablet into a homemade lava lamp.
Watch gas lift colorful bubbles through oil and water.
For balloon inflation, tip baking soda into vinegar inside a bottle.
Keep a towel nearby for drips.
Predict “how fast?” the bubbles will grow.
Big-Mess Outdoor Projects
Outside, big-mess science projects give foam, fizz, and splashes plenty of room.
You and your science crew can venture boldly while keeping chaos manageable.
- Spread a washable tarp before you begin.
- Try elephant toothpaste for a foamy gas reaction.
- Inflate a balloon with vinegar and baking soda.
- Use trays and bowls to catch drips and spills.
Ask Mess prediction questions: Where will the foam rise? How far might vinegar splash? Then compare your ideas with the results.
Make a Cleanup timing plan before starting, so everyone knows when to rinse tools and fold the tarp.
Ask an adult for help with careful materials.
Make Rainbow Walking Water With Paper Towels
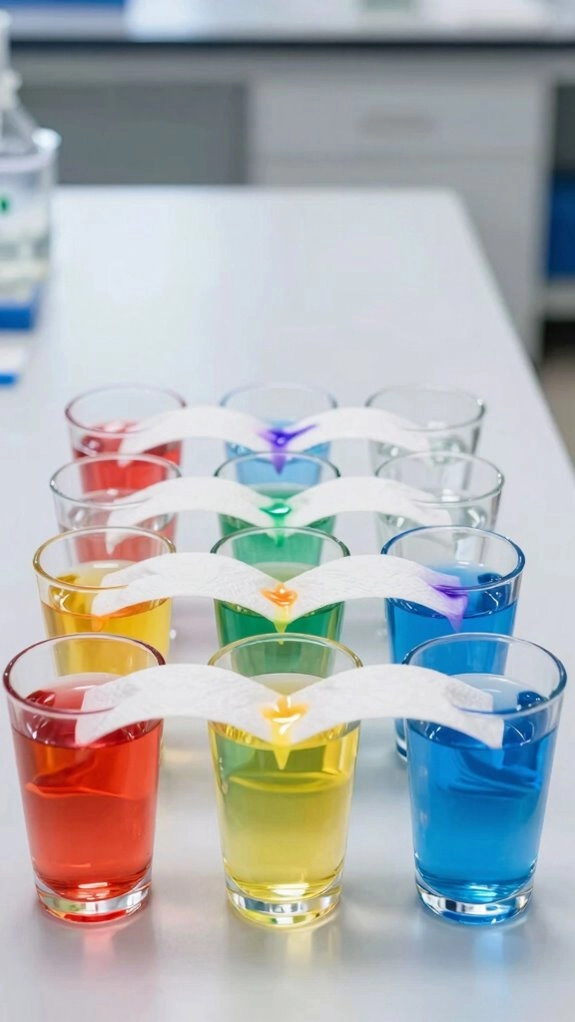
Turn ordinary cups and paper towels into a moving rainbow you can watch grow.
Fill 3–6 cups with different colored water and arrange them in a ring.
Leave some cups empty.
Fold paper towel strips and place their ends in neighboring cups.
Water climbs through the fibers by capillary action.
Surface tension keeps pulling it upward, then it drips into the next cup.
Watch colors meet and form new gradients.
Check every 15–30 minutes and record each color’s distance.
Hypothesize water speed before you begin.
Then compare towel thickness, strip length, and starting water levels with your science team.
Like the surface tension in strong bubble mixtures, this force helps water move and hold together as it travels through the paper towel fibers.
Create Fizzing Colors With Baking Soda
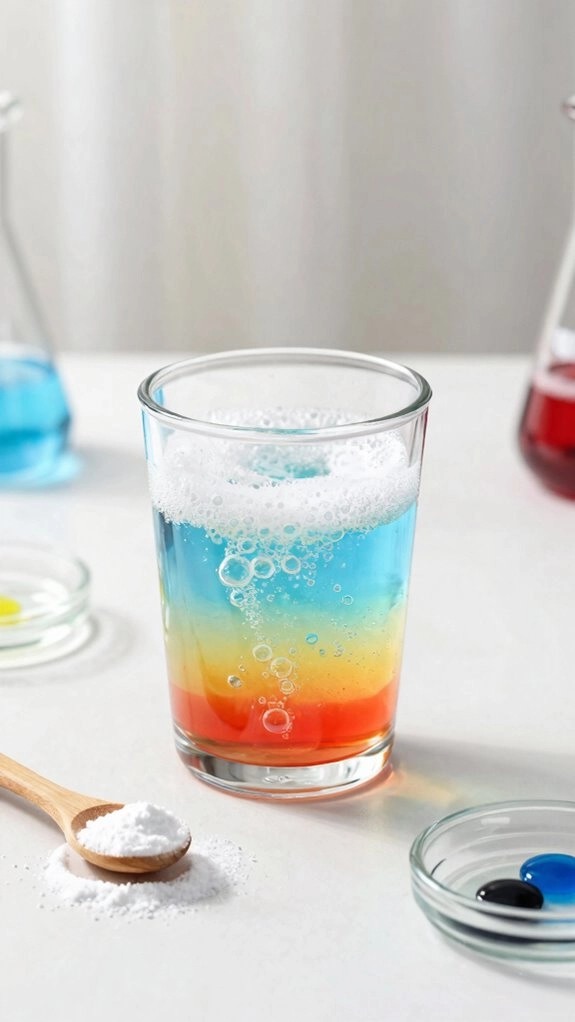
Create a colorful fizzing show with baking soda, food coloring, and vinegar. You’ll feel like part of a real science team as colors bubble together on your tray.
- Make small baking soda piles in a shallow container.
- Add a few food-coloring drops to each pile.
- Pour vinegar over them and watch the foam rise.
- Try larger piles or more vinegar, then compare results.
How bubbles form: vinegar’s acetic acid reacts with baking soda and creates carbon dioxide gas. The gas pushes up quickly, making fizz and foam.
The reaction also produces water and a dissolved substance called sodium acetate.
Observe color mixing as the bubbling spreads. Keep your tray nearby to catch overflow and stay tidy.
Reveal Invisible Ink Spy Messages
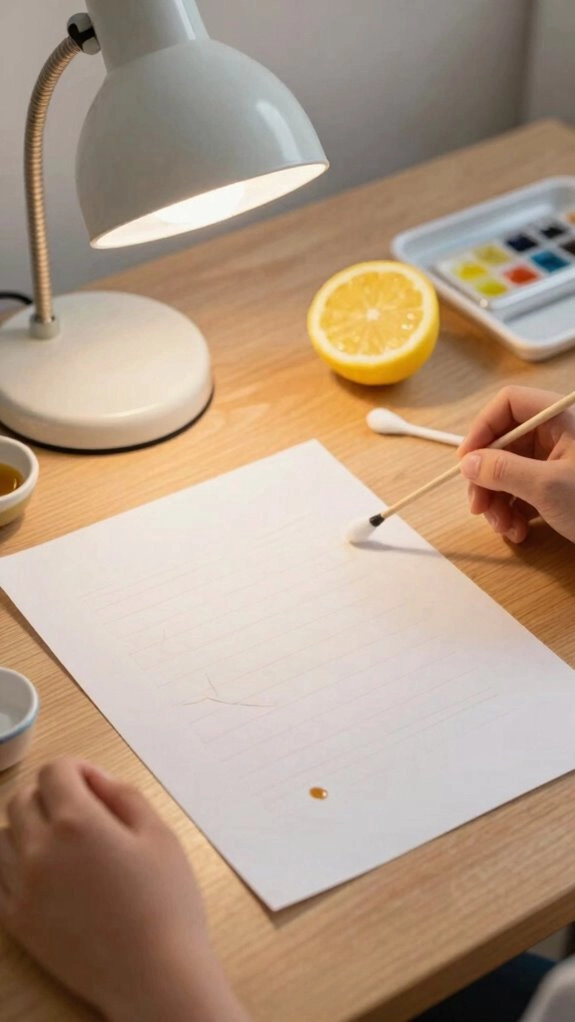
Mix lemon juice and water, then use a cotton swab to write a secret message. Let the paper dry completely so your invisible ink stays hidden.
With adult help, gently warm the paper and watch your message turn brown.
For a science-day snack, pair fruit with protein and healthy fats to help kids stay full and focused.
Materials And Setup
Gather a few simple supplies before you begin your invisible ink experiment. You’ll join countless young detectives as you create a secret note. Choose a clean workspace where your message can dry safely. Try different plain paper choices, but white paper works best.
- Lemon juice mixed with a little water in a small cup
- Cotton swabs to use as your secret-message pens
- White paper for writing and drying your hidden clues
- Paper towels for quick invisible ink cleanup
Dip a swab lightly, then write clear letters. Don’t soak the paper. Let your message dry completely before moving it.
Heat Reveals Messages
Once your secret note is completely dry, gentle heat can make the hidden words appear.
Ask an adult to help you warm the paper carefully.
Safe candle supervision is important, and small warmth works best.
Hold the paper near, not in, the heat source.
Watch as your message slowly turns brown.
Lemon juice contains acids that darken through oxidation and browning when heated.
The brown letters create paper texture contrast against the plain sheet.
Don’t overheat your note, or it may scorch or burn.
Share the reveal with your science team.
You’ll feel like real spies *uncovering* a secret together.
Test Oobleck and Homemade Slime
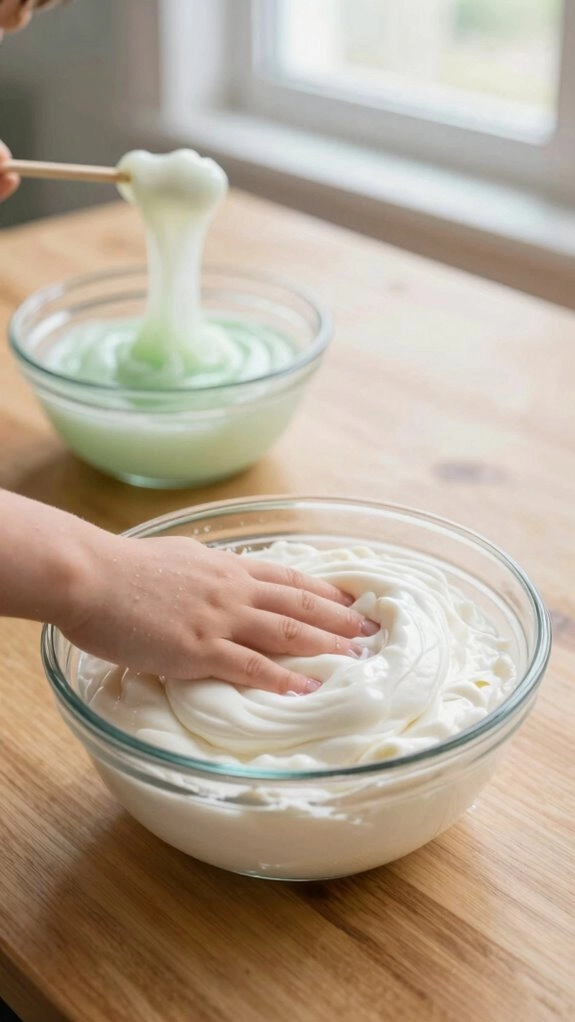
Oobleck and homemade slime let you investigate how materials respond to force. You’ll see why your observations matter in a real science community.
- Mix one cup cornstarch with half a cup water. Adjust until it runs, then firms when squeezed.
- Poke and stir gently. Oobleck flows like a liquid under soft force.
- Squeeze it quickly. Particles pack tightly, so it resists flow like a solid.
- Compare slime made with PVA glue and borax. Pull, squeeze, and drop both mixtures.
You can investigate material behavior in this study and discuss real life applications, such as protective gear. Record which material acts more solid-like or liquid-like during each test.
Launch a Balloon Rocket With Air
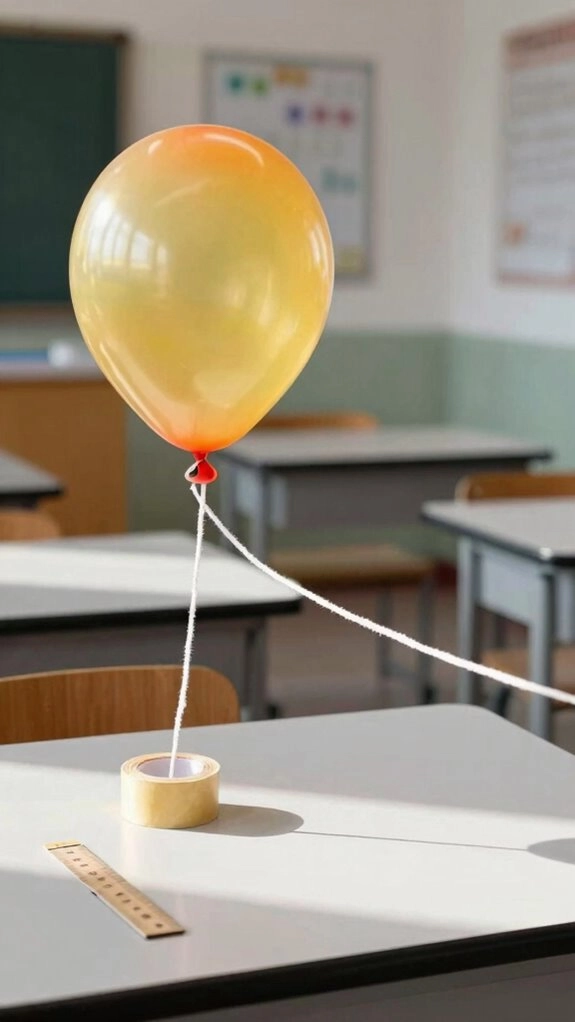
A balloon rocket lets you watch air pressure create motion right before your eyes. Inflate a balloon, but don’t tie it.
Tape it tightly to one end of a straw.
Thread a string through the straw, then have a friend hold each end.
Pull the balloon back along the string to store potential energy in its compressed air.
Release it and cheer as air thrust sends it racing forward.
This reaction explanation shows Newton third law: air pushes backward, so the balloon moves forward.
You can observe momentum transfer as escaping air drives the rocket. Try a one- to two-meter string for a longer launch.
Build an Easy Science Lava Lamp
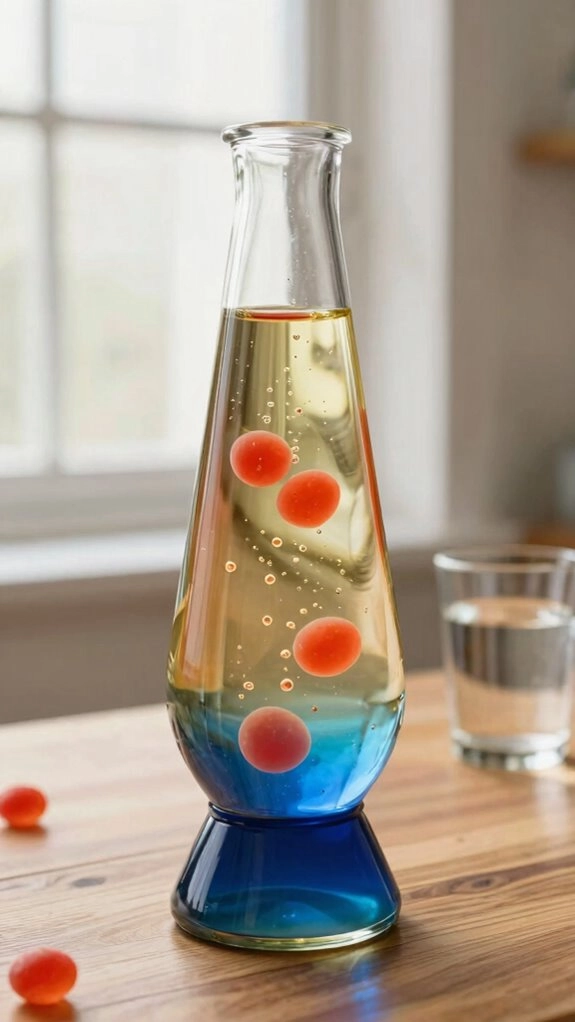
Turn an ordinary bottle into a glowing-style lava lamp with a simple fizzy reaction.
You’ll see science in motion and share a cool discovery with friends.
- Fill a clear bottle three-fourths full with vegetable oil.
- Add water until it’s nearly full, then add food coloring.
- Drop in one or two Alka-Seltzer tablets gently.
- Watch colored bubbles rise, sink, and swirl like lava.
Oil floats because it’s less dense than water.
The tablet reacts with water and releases carbon dioxide gas.
Ask why bubbles rise, then predict next outcome as they pop at the top.
Make a Rainbow in a Jar
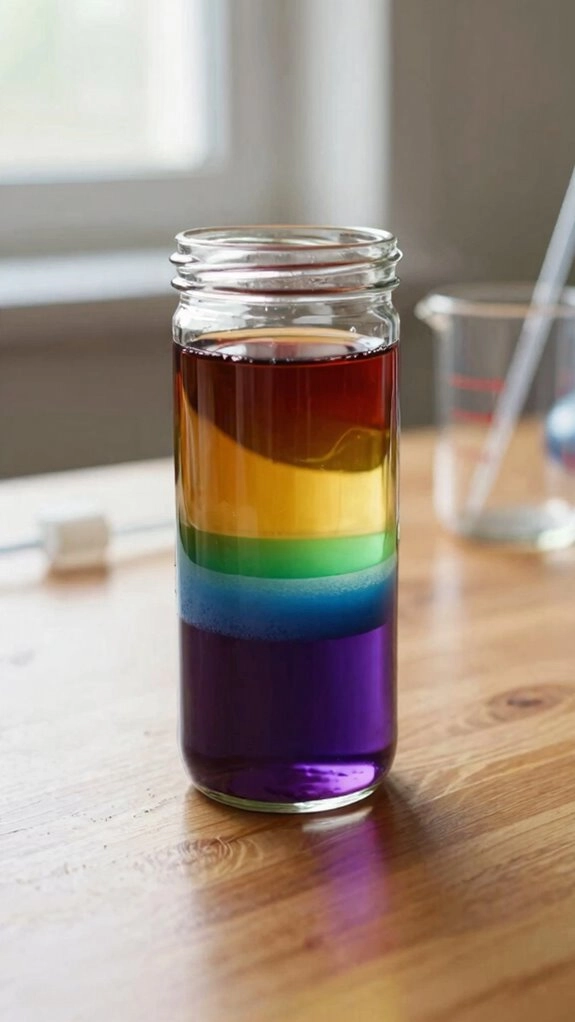
Gather a clear jar, colorful liquids, and a few drops of food coloring.
You’ll gently layer honey, soap, water, oil, and alcohol by density.
Watch each liquid settle into bright bands and form a rainbow.
Gather Colorful Liquids
Five common liquids can create a bright rainbow right inside a clear jar. Gather your supplies with a friend or family member so everyone can join the exploration. You’ll need small amounts of these liquids:
- Honey for a golden bottom band.
- Dish soap, colored if you’d like.
- Water and vegetable oil for middle colors.
- Rubbing alcohol for a top layer.
Add food coloring to separate liquids before you begin. Choose colors that stand out clearly. Ask Color mixing questions, such as what two colors might make green.
Practice safe pouring practice by using a tray, measuring cups, and adult help with alcohol.
Layer By Density
Now you can build your rainbow by layering the liquids from heaviest to lightest. Pour honey into a clear jar first. Then add dish soap, water, vegetable oil, and rubbing alcohol. Each liquid should float above the denser one below it.
For successful density stacking, pour slowly onto the back of a spoon. This gentle method makes liquid layering easier and keeps currents from stirring everything together. Pause after each addition so your group can let the liquid settle.
Density means how heavy something is for its volume. If your layers blur, don’t worry. You likely poured too fast or shook the jar. Try again slowly.
Watch The Rainbow Form
As the jar rests, colorful bands begin to form before your eyes. You’ve created a tiny rainbow that your science team can admire together. The layers show density versus mixing in action.
- Watch honey stay at the bottom because it’s most dense.
- Notice dish soap and water settle above the honey.
- See vegetable oil and rubbing alcohol float near the top.
- Observe color banding as each liquid holds its own space.
Don’t shake the jar. Let it sit quietly so diffusion stays limited. You’ll see that denser liquids sink while lighter liquids float. Your careful pouring made this bright pattern possible.
Make Rain in a Jar
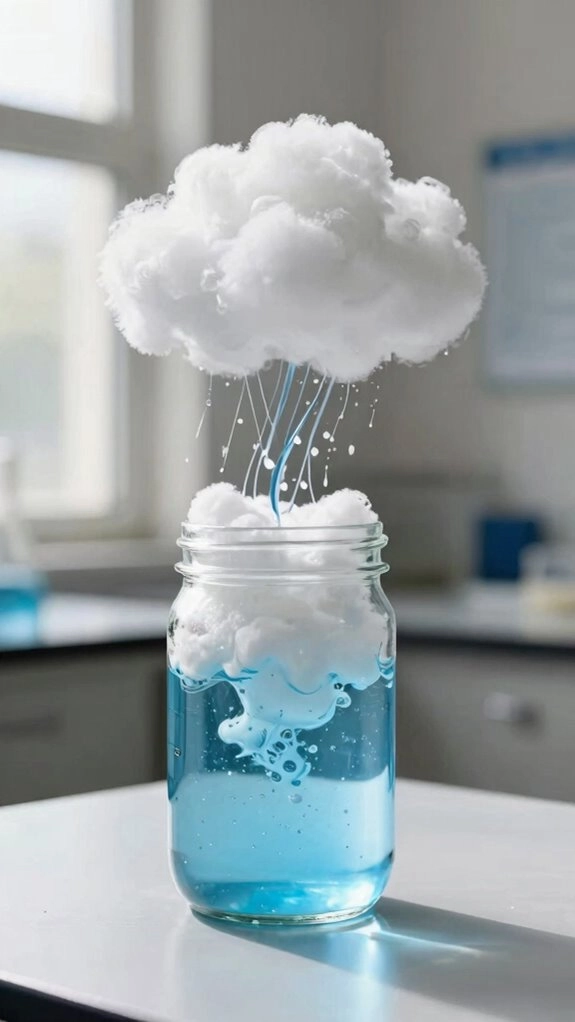
How can you make a tiny rainstorm without stepping outside? You’ll need a clear jar, warm water, blue food coloring, plastic wrap, and a coin. Fill the jar with warm, not boiling, water.
Add a few blue drops to create your little sky. Stretch plastic wrap across the top and place the coin in the center.
Warm vapor rises, then cools against the wrap. Soon, clouds form as water gathers underneath. Check your jar every 10 to 15 minutes to observe droplet growth.
When drops get heavy, they fall as rain. You’re watching evaporation, condensation, and precipitation work together in one shared weather cycle.
Ask Questions During Every Experiment
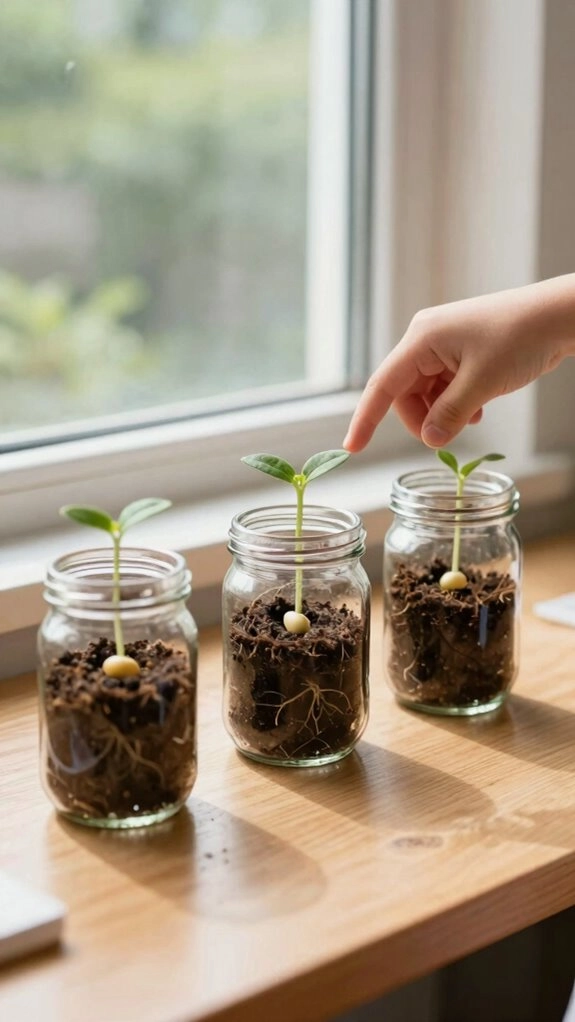
Great scientists don’t just watch experiments; they ask questions at every step. You and your child can uncover like a team.
- Ask, “What do you notice changing?” Look for color, texture, movement, sound, or temperature.
- Use Prediction prompts, compare results: “What happens if we add more vinegar or food coloring?”
- Try Cause and effect, evidence questions: “Which part is the acid or base? What shows a reaction happened?” Watch for fizzing or browning ink.
- End by asking what surprised you and what you’d test differently next time.
Every question helps your young scientist feel confident, curious, and connected to exploration.