


You can get better reverse image search results faster by starting with a clear, high-resolution image. Crop away clutter so the main subject stands out. Use Google Images first with the camera icon, then try TinEye for older matches and Yandex for face searches. If the image is blurry, sharpen or restore it a little first. Check several tools and compare domains. If you keep going, you’ll soon see even smarter ways to search.
- Key Takeaways
- How to Speed Up Reverse Image Search
- Prep Your Image for Better Matches
- Use Google Images First
- When TinEye Finds the Original Source
- Why Yandex Helps With People Searches
- Use PimEyes for Face Matching
- Which Tool Works Best for Each Goal
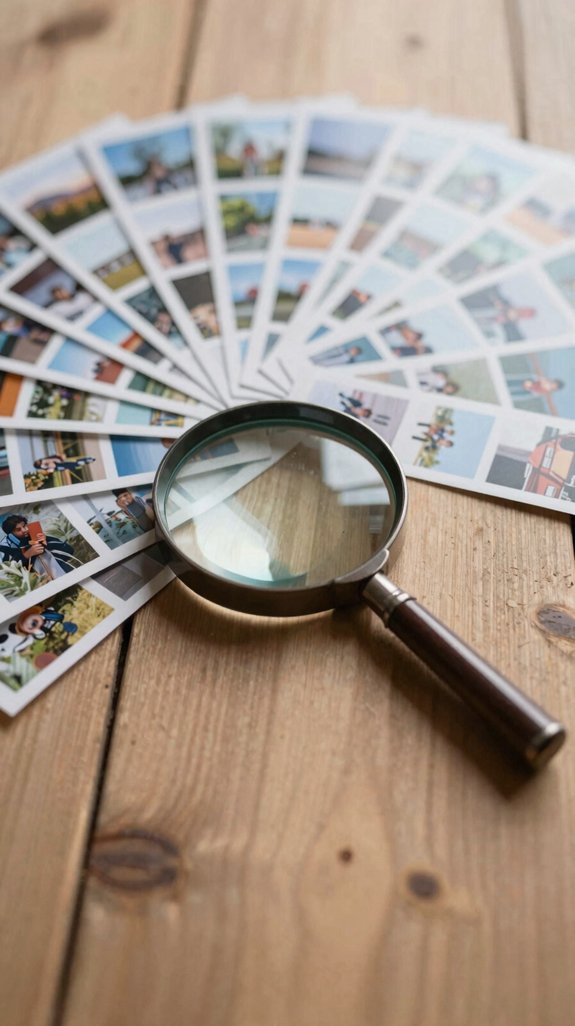
- How to Compare Results Across Tools
- Fix Blurry or Cropped Image Problems
- Combine Metadata With Visual Search
- A Faster Reverse Image Search Workflow
Key Takeaways
- Start with Google Images using the camera icon or URL upload for the fastest duplicate search results.
- Use tight, high-resolution crops that isolate the subject, face, logo, or text for clearer matching.
- Apply size, type, and duplicate-sorting filters to reduce noise and surface stronger matches quickly.
- Cross-check results with TinEye, Yandex, and PimEyes because each tool excels at different image types.
- For edited or cropped images, try TinEye sorted by oldest first to find earlier source versions.
How to Speed Up Reverse Image Search

When you want fast results, start with Google Images first. Upload your picture with the camera icon, or use Image URL batching if you have many links.
Then use keyword enhancement shortcuts like size and type filters to cut down duplicates fast.
If you need a face, change the Tools search path and swap “clipart” for “face” in the results URL.
For cropped or edited photos, try TinEye and sort by oldest first to find the source.
When an image looks blurry, restore it first or crop to the clearest part.
Mix Google and Yandex to widen your reach.
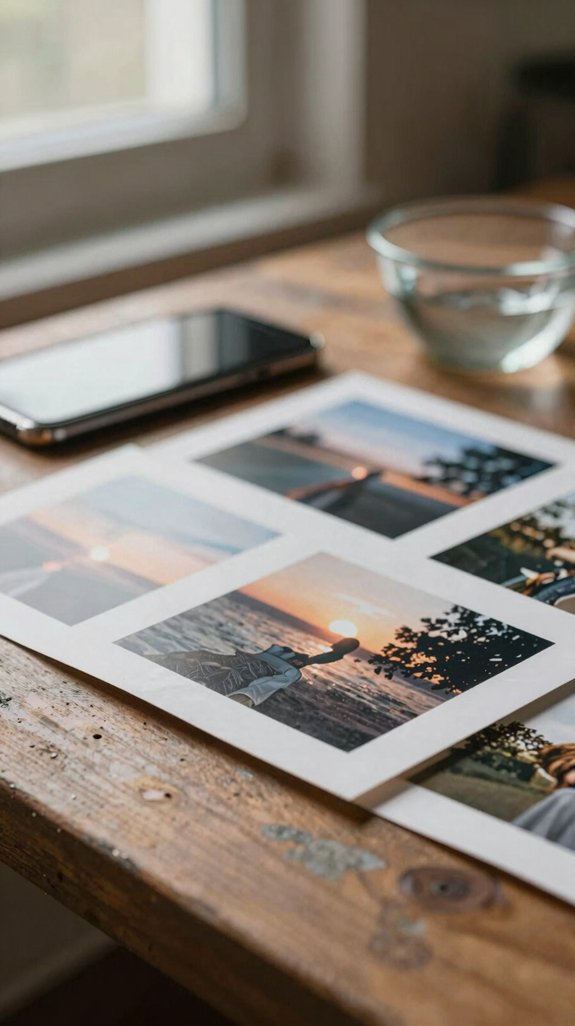
Prep Your Image for Better Matches
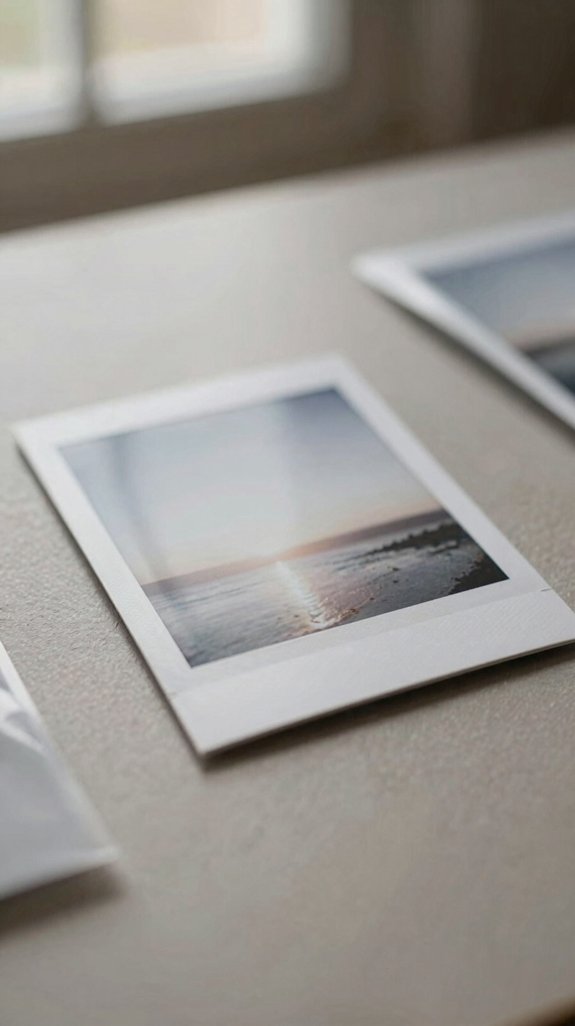
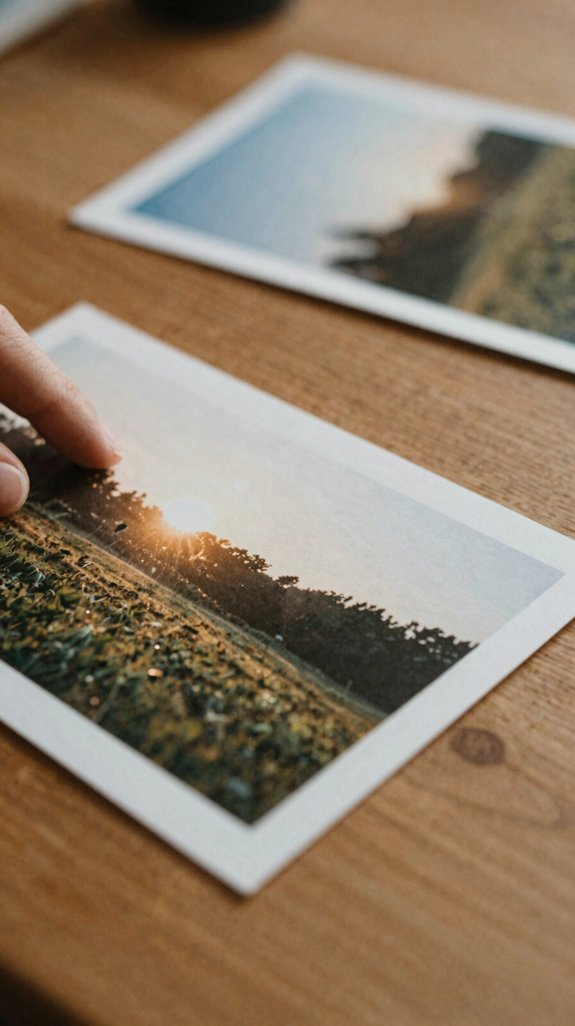
You’ll get better matches when you use a clear, high-resolution image.


Crop out extra clutter so the main subject stands out more.
A front-facing shot also helps the search compare details faster.
Crop Out Distractions
Before you search, crop out anything that doesn’t help the image stand out. Center subject cropping helps you remove background clutter and focus on the part that matters. Tight crops give reverse-image tools more edges, textures, and patterns to compare. | Crop type | Best use | Why it helps |
| — | — | — |
|---|---|---|
| Face crop | Portraits | Shows key features clearly |
| Logo crop | Brands | Keeps the shape sharp |
| Text crop | Signs | Boosts word matching |
If the image feels busy, try a few crops. Search the subject, text, and logos. Then check both the cropped file and the original URL.
Use Clear Frontal Shots
A clear, head-on photo gives reverse image tools the best chance to find a match. You help the system spot faces and details your crew wants to compare. Keep the shot frontal and calm. Strong Face Landmark Quality matters, so the face must stay open and sharp. Good Lighting Consistency also helps.
- Crop close around the face.
- Pick the most natural photo.
- Skip heavy filters.
- Use a frontal crop, not a profile.
- Try more than one search engine.
If the image looks soft, a gentle restore can help before you search.
Choose High-Resolution Files
High-resolution files give reverse image search tools more to study, so they often find better matches. Use original size whenever you can, because big, sharp images keep tiny details intact.
If your picture looks fuzzy, try AI restoration first.
Crop tightly around the main subject to cut extra noise.
Save as JPG or PNG and avoid recompression, since heavy compression adds messy artifacts.
If you have several versions, compare uploads with batch testing.
Different sites may favor different copies.
You’ll feel more confident when each search has its best chance to shine.
Use Google Images First

Start with Google Images at images.google.com and use the camera icon to upload your picture or paste its URL.
You’ll often find exact matches, original sources, and visually similar images fast.
Then compare the top results and check if the page details really fit the image.
Exact Match Searches
When you want an exact match, Google Images is the best place to begin. You’re part of a smart crowd here, and Google Lens can help too. Upload the photo with the camera icon or paste the URL.
- Use the highest-resolution image.
- Keep it least-cropped.
- Avoid blur and heavy edits.
- Try people or faces filters if results stay broad.
- Open matches to check original hosting, not thumbnail pitfalls.
If the image looks changed, crop a distinctive logo, pattern, or object. That helps metadata matching and pushes Google toward your exact match.
Fast Source Checks
Google Images is often your best first stop because it has a huge index and wide website coverage.
You can join the search fast by tapping the camera icon on images.google.com, then upload your image or paste its URL.
Google usually finds quick exact-match duplicates before other tools do.
If results look messy, use Tools and Type to narrow them.
Check the top results for the earliest source page timeline and simple Metadata clues like captions or dates.
You’re not chasing every match yet.
You’re just deciding if Google gives you enough proof to keep going.
Cross-Referencing Results
With Google Images first, you can compare several top results and see where the same picture appears across the web.
You’ll feel more confident when you check each page for clues. Try these steps:
- Open the camera icon and upload the image.
- Note the sites that show the same picture.
- Do Source reliability checks, date and context.
- Do Watermark consistency review, visual evidence comparison.
- Use Tools to change Type or crop key parts.
If Google gives partial matches, search cropped areas too.
Then, and only then, compare with TinEye or Yandex.
You’re building a smarter search team.
When TinEye Finds the Original Source
Sometimes TinEye is your best clue when you want the original image source. Paste the image URL or upload it, and start fast.
TinEye helps you trace exact matches, even if the picture was cropped, resized, or color-changed. Try TinEye oldest first so you can spot the earliest page. That gives you strong original instance verification.
Use best match and most changed filters to compare edits.
Then open the oldest listings and check the pages.
Even if TinEye shows fewer results than Google, it often finds the true source.
You’re not alone in the search; you’ve got a smart tool.
Why Yandex Helps With People Searches

Yandex can help you find people because it often matches faces better than other tools.
It also works well in Russia, Eastern Europe, and parts of Asia, where more local photos may appear.
If Google gives you weak results, Yandex can be a smart next step for face-based searches.
Stronger Face Matching
When you’re trying to find a person in a photo, Yandex can be a strong first stop. It uses bold face matching, so it often spots the same face in new pictures. That can help you feel less alone in the search.
- Upload a clear frontal face.
- Try different angles and lighting.
- Use contextual gallery browsing to check nearby images.
- This also helps with avoiding common misidentifications.
- Compare results with care, then move on if needed.
Yandex is often the quickest first check. If you want deeper face searches, you can later compare it with stronger tools.
Better Eastern Coverage
Why does Yandex often help so much with people searches? It sees more Russian, Eastern European, and Asian pages.
Those indexing differences can surface photos Google misses. You may spot matching profiles, reposts, and local media shots from regional sources.
Yandex’s face tool can also link the same person across clear photos. If a result looks odd, try spelling variants and wait for cache refresh.
Then compare it with Google Images or TinEye. That way, you can check the face and feel more sure.
For many searches, this wider view feels like finding your people more easily.
Useful Search Workflow
A smart people-search workflow usually starts with Google Images for quick exact matches. If those results feel thin, switch to Yandex.
It often finds people better, especially across Eastern Europe, Russia, and Asia. Yandex uses face similarity scoring, so it can connect photos that Google misses.
- Upload the clearest face crop
- Try different photos of the same person
- Open similar results and compare accounts
- Check photos, timestamps, and bios
- Verify identity consistency, avoid false positives
This helps you build trust in each match and feel more certain.
Use PimEyes for Face Matching
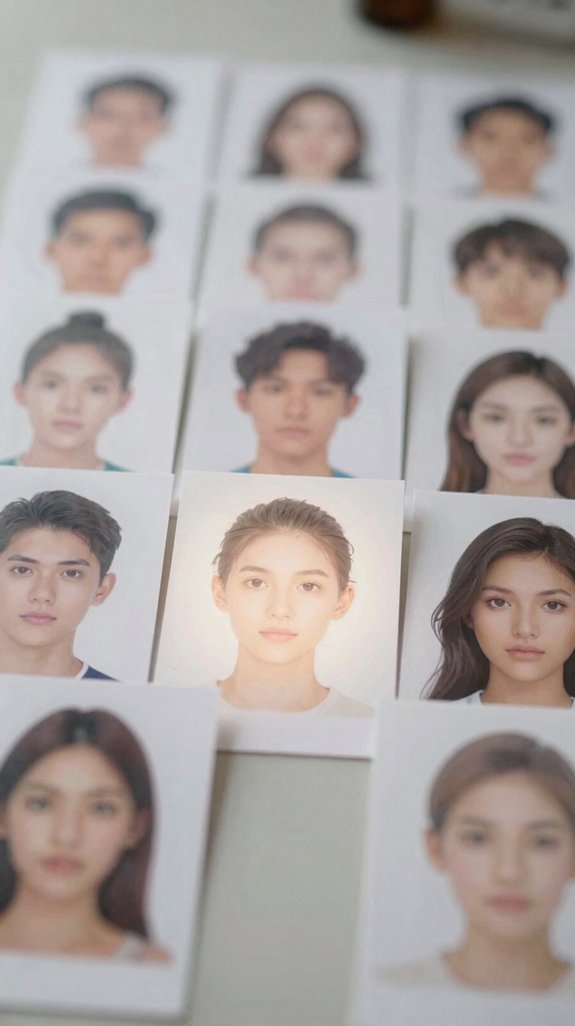
For faces, PimEyes can be a powerful search tool. It builds a face template from your clear, front-facing photo and checks matching faces online. That’s why it helps you feel sure about identity. Be mindful of biometric privacy and consent awareness before you upload anything.
| Tip | Why it helps |
|---|---|
| Use a clear face | Boosts match confidence |
| Avoid blur or angles | Cuts false matches |
| Watch similarity scores | 90%+ often means the same person |
| Check free previews | Full results may need payment |
PimEyes works best for face matching, not scenery.
Which Tool Works Best for Each Goal
Which tool should you use first? Start with goal congruence, then pick the best match. You’re not guessing alone here; you’ve got a smart path.
- Google Images works best for exact duplicates.
- TinEye finds where a photo first appeared.
- Yandex helps with faces in Russia, Eastern Europe, or Asia.
- PimEyes is best for face-only ID.
- Use Google, then Yandex, then PimEyes if needed.
This tool selection saves time and cuts accuracy tradeoffs. Google has the widest index. TinEye is strong after edits. PimEyes gives scores for result interpretation, so you can decide faster and with confidence.
How to Compare Results Across Tools

Now that you’ve picked the right tool, compare what each one shows you. Use Cross tool accuracy to spot patterns, not just one hit.
Google often finds more duplicates, while TinEye may show older sources first.
Yandex and PimEyes can rank face matches differently, so check their result ranking comparison too.
If the same photo and context appear across Google and TinEye, your clue is stronger.
If Yandex shows unrelated people, slow down and trust the match less.
Run the same image quality in each tool.
Then count unique domains and see which results feel most consistent.
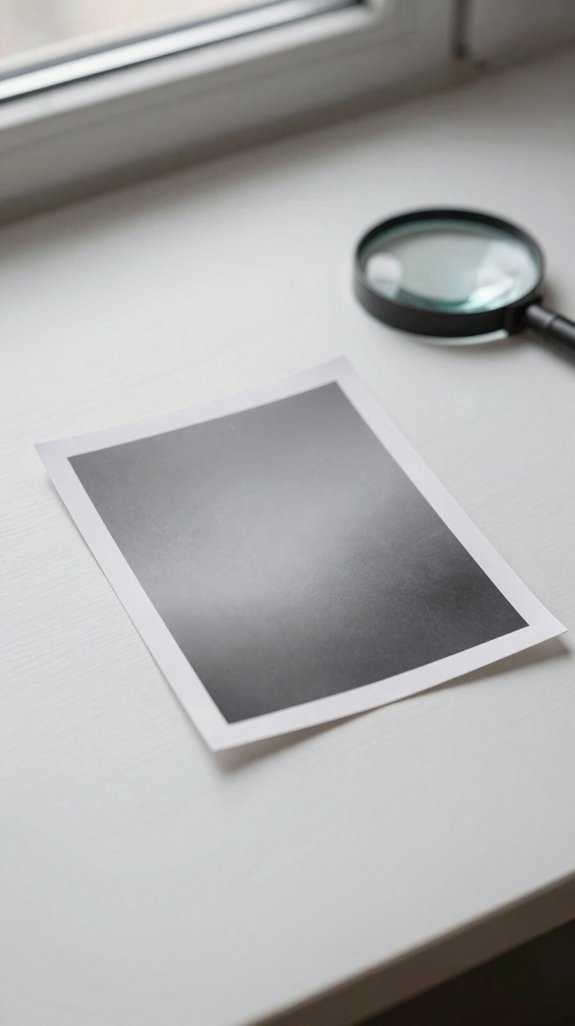
Fix Blurry or Cropped Image Problems
If your image is blurry or cropped, fix it before you search. You’ll get better matches when you improve feature contrast and protect key details. Try these quality checks first:
- Use AI edge enhancement for blurry shots.
- Do logo isolation when a brand mark matters.
- Crop tighter around the face or object.
- Remove busy backgrounds to clear the silhouette.
- Save again as JPG or PNG at higher size.
These small edits help the search tool see what you see.
You’re not alone here; cleaner images often lead to faster, smarter results.
Combine Metadata With Visual Search
Pair the picture with its hidden details to sharpen your search.
First, read the EXIF data with tools like ExifTool or PhotoME. You may find camera model, time, place, or lens clues.
Use those clues to add names, cities, or events around your reverse search.
Metadata date constraints help you skip weak matches and focus on the right moment.
Then check tool result consistency checks by comparing the metadata with each image result.
If the file lost metadata, like a screenshot, sharpen or crop it and search again.
You’ll build stronger, smarter matches together.
A Faster Reverse Image Search Workflow
A fast reverse image search workflow starts with the biggest net first. You begin in Google Images with the camera icon. Upload the file or paste the URL.
Check Thumbnail Quality and Result Consistency before moving on.
If hits look weak, crop to the face, logo, or text. That sharper view helps Duplicate Detection too.
- Try TinEye for the oldest match.
- Use Yandex for faces and regional results.
- Search a close-up for quick identity checks.
- Pick PimEyes for Batch Uploading and scale.
- Keep each step short, so you stay with your search crew.


