Science Front Page Design Aesthetic Ideas for School Notebooks

- Science Front Page Design Aesthetic Ideas for School Notebooks
- Key Takeaways
- Start With the 10-Image Cover Requirement
- Gather Your Science Notebook and Supplies
- Choose Five Science-Themed Images
- Pick Five Personal Images You Love
- Find Images in Magazines or Online
- Magazine Image Sources
- Online Image Search
- Printing And Cutting
- Draw Images for Your Notebook Cover
- Science Image Drawing Ideas
- Personal Sketches and Symbols
- Keep Cover Images School Appropriate
- Arrange Your 10 Images on the Cover
- Overlap Images for a Layered Collage
- Plan Image Placement
- Secure Overlapping Edges
- Balance Science and Personal Image Placement
- Tape Every Image to the Cover
- Add Your Name and Period Label
- Clear Name Placement
- Visible Period Label
- Cover the Notebook With Clear Packing Tape
- Make Your Cover Water-Resistant for Labs
- Use Sharpies, Stickers, or a Dividing Page
- Make Your Science Notebook Feel Like Yours
Create a layered science collage with exactly 10 images: five science pictures and five personal favorites. Choose bold ideas like volcanoes, atoms, ocean animals, forests, and clouds. Add photos of sports, books, foods, pets, or inspiring heroes. Overlap pictures neatly and tape each one from behind. Write your name and period near the top. Seal the finished cover with clear packing tape for lab spills. Next, you’ll find easy ways to choose and arrange every image.
Key Takeaways
- Create a layered collage with exactly five bold science images and five personal favorites to make the cover feel balanced and unique.
- Mix recognizable science themes such as volcanoes, animals, atoms, forests, oceans, clouds, or technology for a colorful academic look.
- Combine hand-drawn sketches with printed photos or magazine cutouts, avoiding inappropriate advertisements and school-unsuitable imagery.
- Arrange images with strong color contrast and overlap them before attaching tape behind each picture for a neat, dimensional design.
- Add a visible name-and-period label, then seal the finished cover with clear packing tape for durable, water-resistant protection.
Start With the 10-Image Cover Requirement
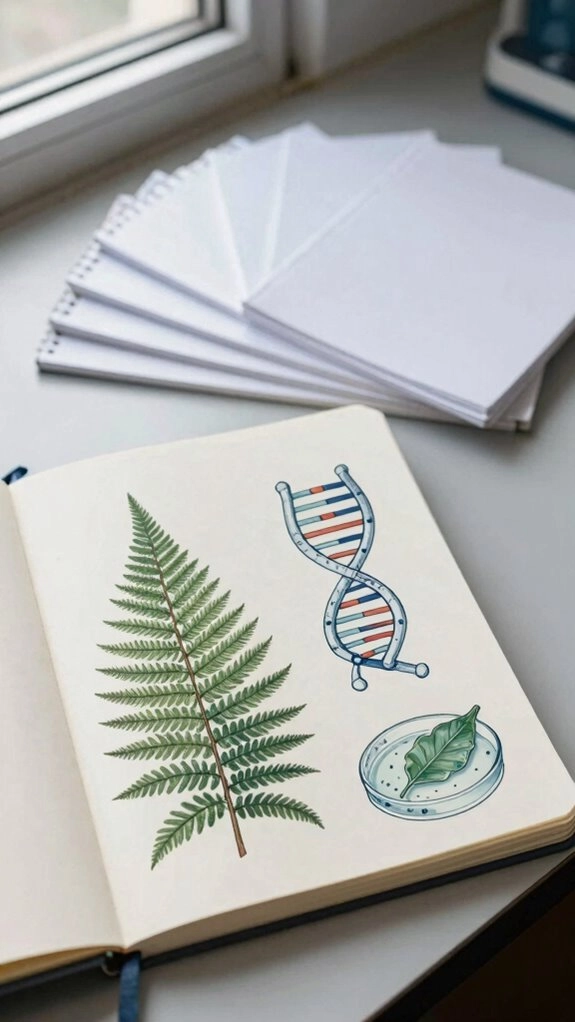
Your science notebook cover starts with one clear goal: use exactly 10 images.
Choose five science pictures, such as animals, oceans, atoms, or volcanoes.
Then choose five personal images that show your hobbies, favorite foods, books, or heroes.
Your personal symbol themes help classmates learn what matters to you.
Mix hand-drawn art with printed photos or magazine cutouts.
Create a Layered collage by overlapping pictures in ways that feel like you.
Keep every choice a school appropriate design, and skip unsuitable ads or images.
Use tape safety by attaching tape behind each picture.
Your cover can feel unique while still belonging in class.
Add a North Star image to represent curiosity, hope, and scientific discovery.
Gather Your Science Notebook and Supplies

Now gather the notebook and supplies that will bring your 10-image cover to life.
Bring your Science Notebook on Monday, when your teacher shares the homework board reminder.
Early setup time helps everyone get started together.
Use a Labeling supplies checklist: scissors, glue or tape, printed pictures, home photos, and magazine cutouts.
Keep scotch tape nearby for assembly.
The “How to Set-up a Science Notebook” blog can guide your choices.
If your notebook arrives in week two, you can still decorate later.
Follow the classroom check-in steps, then add heavy-duty packing tape over the finished cover.
This creates lab ready organization and protects your artwork.
Use color-coded labels for your science notebook and supplies so they are easier to identify and keep organized.
Choose Five Science-Themed Images
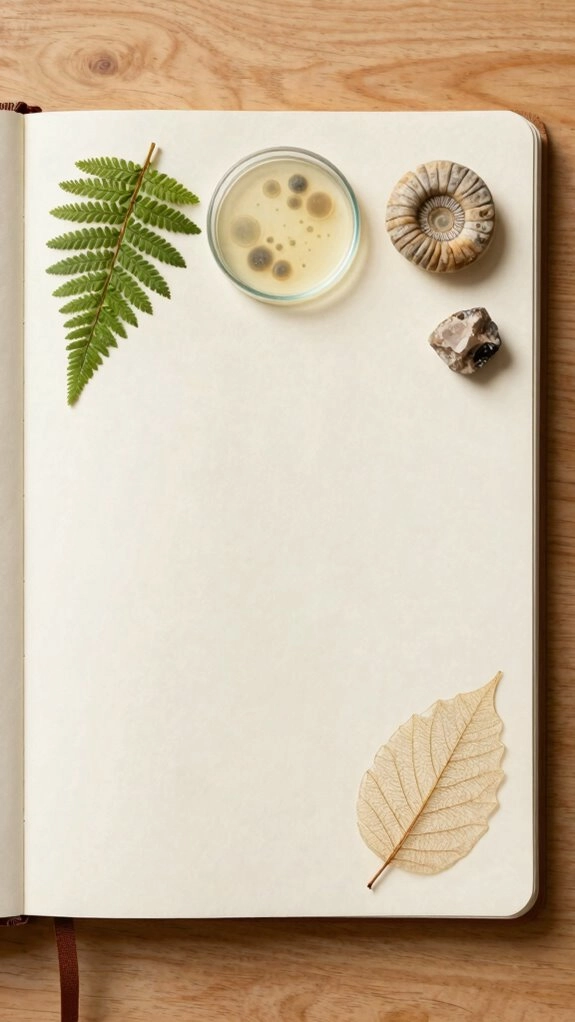
Which science pictures make you want to look closer and ask questions? Choose exactly five bold images that your classmates can recognize from far away. Mix science areas so your cover feels like part of a curious learning community.
Try Color contrast and bold composition ideas to make every picture stand out. Use simple science symbols only when they stay clear.
- A volcano beside tall mountains for Earth science
- An ocean animal or leafy forest for life science
- A microscope or bright atom for physical science
- Clouds and a sunrise for weather wonder
Draw them yourself or cut safe pictures from print materials. Avoid unsuitable advertisements. Secure each image neatly before arranging your cover.
Add color coding to separate science areas and help important images stand out quickly.
Pick Five Personal Images You Love
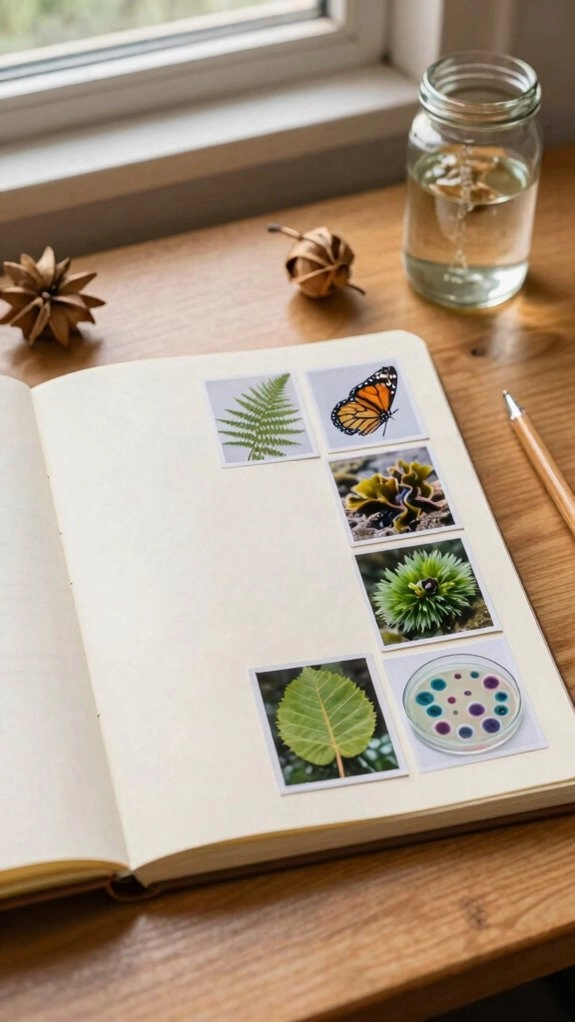
After choosing science images, add five pictures that show who you are.
Pick images from your Favorite hobbies, such as sports, books, favorite foods, or movies.
Include a photo of friends, family, or a pet if you have one.
These familiar faces can make your notebook feel like it belongs to you.
Balance fun choices with meaningful quotes or inspirational people you admire.
You can sketch simple hand-drawing ideas with Chromebook research if needed.
Keep science symbols near your personal pictures so the cover stays connected to class.
Choose small, clear images that you can cut neatly and tape down.
Motivational posters can add encouragement too.
A picture related to your favorite hobby can show what you enjoy and help others learn more about you.
Find Images in Magazines or Online
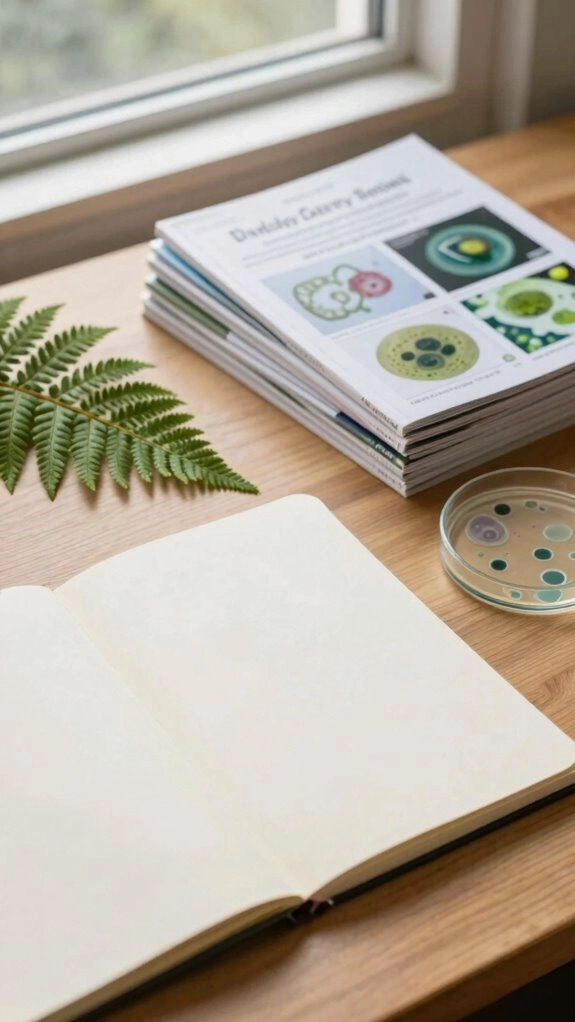
Search magazines for science pictures that fit your five topics, skipping inappropriate ads.
If you need more choices, use a Chromebook to find simple image ideas online.
Print pictures early, then cut neatly around them with a small border for tape.
For clearer results, use Google Images and upload a high-resolution picture or crop to search for a specific science topic.
Magazine Image Sources
Magazines can give your science notebook cover a colorful and creative starting point.
Build a Magazine layout that shows your interests and helps you feel part of the class community. Use Scissors and tape, to cut and hold each picture safely before arranging it.
- Pick five science images, like volcanoes, animals, oceans, clouds, atoms, or technology.
- Add five personal images about your favorite hobbies, foods, sports, books, or role models.
- Skip ads or pictures your teacher may find inappropriate, including alcohol or lingerie.
- Keep cutouts organized with Scotch tape so they won’t fall or get mixed up.
Your cover can tell your science story.
Online Image Search
With a Chromebook or a magazine, you can find pictures that make your cover unique. Search “microscope,” “atoms,” “volcano,” or hobbies you enjoy. Use search keyword tricks to uncover ideas your classmates will recognize and appreciate. Choose hand-drawn-friendly images that you can copy neatly.
| Image group | Goal |
|---|---|
| Science images | Pick five |
| Personal images | Pick five |
Use Image composition tips: balance large and small pictures across your page. Keep your choices organized before you begin. Ask your teacher about any image that seems inappropriate, especially ads. You’re creating a cover that shows both your science interests and your place in the class community.
Printing And Cutting
Now you can turn your image ideas into real pieces for your cover. Choose five science pictures and five personal ones that show who you are.
Print extras at home or cut them from magazines. If you can’t find the right picture, use your Chromebook and draw it yourself.
- A glowing planet beside your favorite hobby photo
- A microscope near a colorful team or family picture
- Paper safety tips, scissors scotch tape ready on your desk
- Magazine selection filters and image swapping planning for later
Skip ads with alcohol, cigarettes, bathing suits, or lingerie. Save a few cutouts, so your collage can grow with your classmates’ creative ideas.
Draw Images for Your Notebook Cover
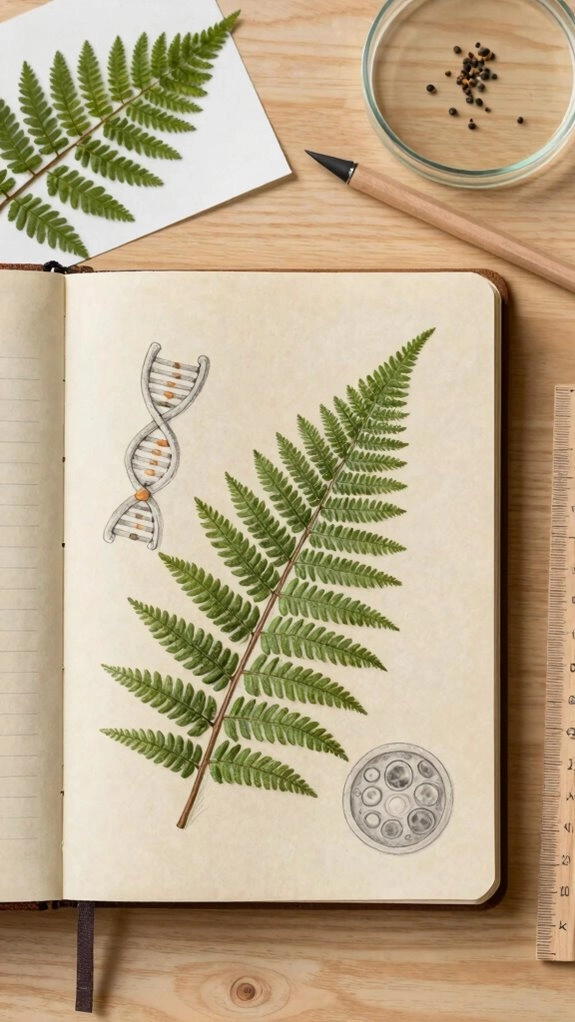
You can draw five science images, such as atoms, volcanoes, clouds, or a microscope.
Add five personal sketches or symbols that show your favorite hobbies, foods, or heroes.
Your cover doesn’t need perfection—it just needs to show what inspires you.
Science Image Drawing Ideas
Pictures can turn a plain science notebook into a cover that feels like yours. Choose ten images before you tape anything down. Use Chromebook searches for clear pictures, then copy bold shapes that classmates can recognize.
Build a shared learning theme with Color coding, chart symbols, and hand drawn labels.
- Draw a volcano with smoke beside mountains and clouds.
- Add ocean waves, a sunrise, and a microscope with a slide.
- Include atoms or technology for a bright science feel.
- Choose five personal favorites, like hobby gear, foods, or books.
Arrange all ten first. Let images overlap if they fit. Then tape them securely so your cover stays together.
Personal Sketches and Symbols
Personal sketches and symbols make your science notebook cover feel truly yours. Choose five personal images, such as favorite foods, books, sports, movies, or an inspirational figure. Add a Favorite quote or a hobby emblem that helps classmates see what you enjoy.
Use a Chromebook to find hand-drawn ideas, then follow a simple sketch style and color palette. Create exactly 10 images total, including five science-related pictures. Draw them on paper or cut them out for a collage.
Tape each image across the back with scotch tape so it stays put. Finally, cover the front with clear heavy-duty packing tape to protect it during lab days.
Keep Cover Images School Appropriate
Start with 10 images that show your interests while staying right for school. Choose five science pictures and five personal ones. Ask your teacher if a magazine image seems questionable.
Your cover can feel like it belongs in class while still showing who you are.
- A glowing volcano beside a bright microscope
- Your favorite book, sport, food, or inspiring quote
- Calm Notebook Color Schemes that match your science theme
- Clear images that support Composition Balance and teamwork
Draw or print personal pictures at home for more control.
Tape each image from the back so it stays secure.
Cover everything with heavy-duty clear packing tape. It’ll resist lab splashes and keep your design visible.
Arrange Your 10 Images on the Cover
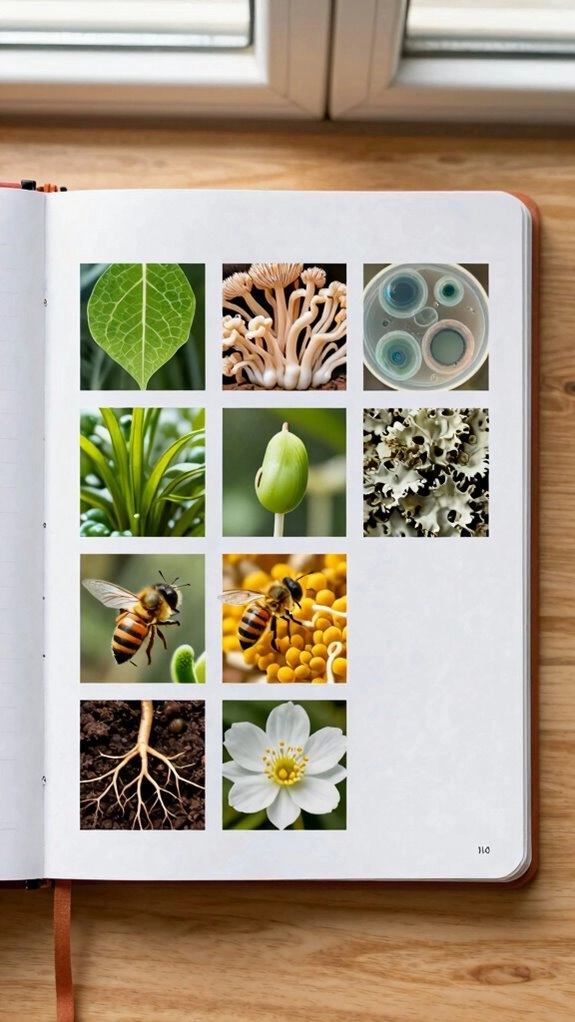
Now you can turn your notebook cover into a collage that shows what you love.
Choose exactly 10 images: five science pictures and five personal favorites.
Pick animals, atoms, oceans, or technology for your science side.
Add books, sports, foods, or inspiring people that help classmates know you.
Plan Color contrast choices so every picture stands out distinctly.
Think about theme symbol meanings, too, because your images can show your interests and goals.
Draw pictures or use teacher-approved magazine cutouts.
Arrange them neatly in a layout that feels like your place in class.
Tape each image’s back with small Scotch tape pieces so nothing gets lost.
Overlap Images for a Layered Collage
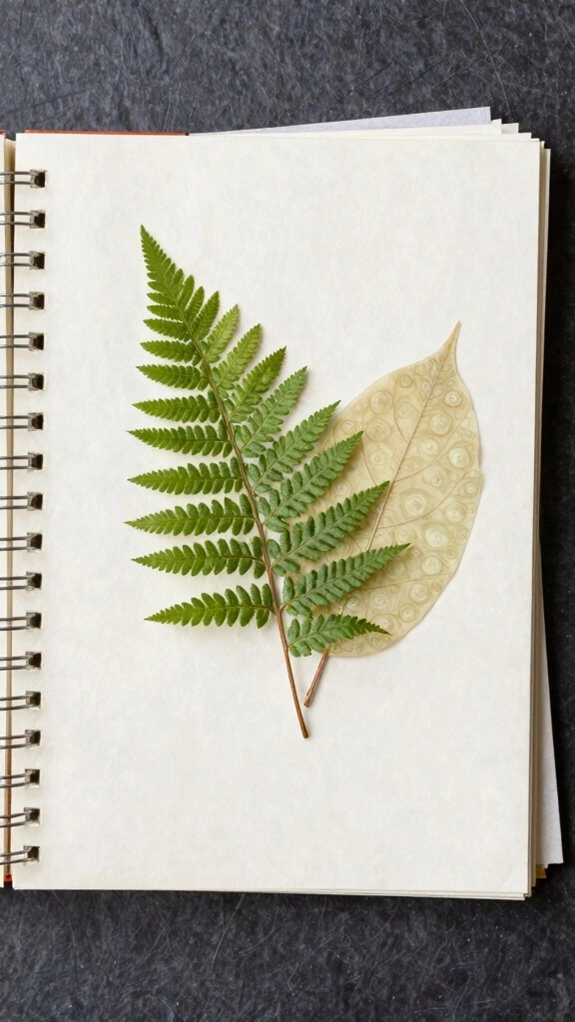
Plan where each picture will sit before you let the edges overlap.
Tape the back of every image so your layered collage stays flat.
Then add your name and period on a small paper label.
Plan Image Placement
Choose exactly 10 images that show both science and your personality.
Pick five science pictures and five personal favorites.
Arrange them before you attach anything.
Let corners overlap to create one complete scene that feels like your place in class.
Use Texture and placement to mix smooth ocean views with bold sports photos.
Try these Color balance tips so every image gets noticed.
- Put a volcano behind a bright hobby picture.
- Pair microscope shapes with favorite food colors.
- Spread dark images between lighter sunrise scenes.
- Place a quote near books, movies, or technology.
Move pieces until the cover feels balanced, welcoming, and evidently yours.
Secure Overlapping Edges
With your images arranged, secure each overlapping edge before the collage shifts.
Add a small piece of Scotch tape behind every picture. Focus on spots where corners overlap or curl.
This keeps your science design neat and helps it stay with your notebook community, not someone else’s.
Tape first, then cover the whole front with clear heavy-duty packing tape.
The final layer seals your collage for daily use and helps protect it from water during labs.
Check the edges after each busy week.
Replace worn tape before pictures lift.
For Laminate backup tips, save extra copies of favorite images in your folder.
Balance Science and Personal Image Placement
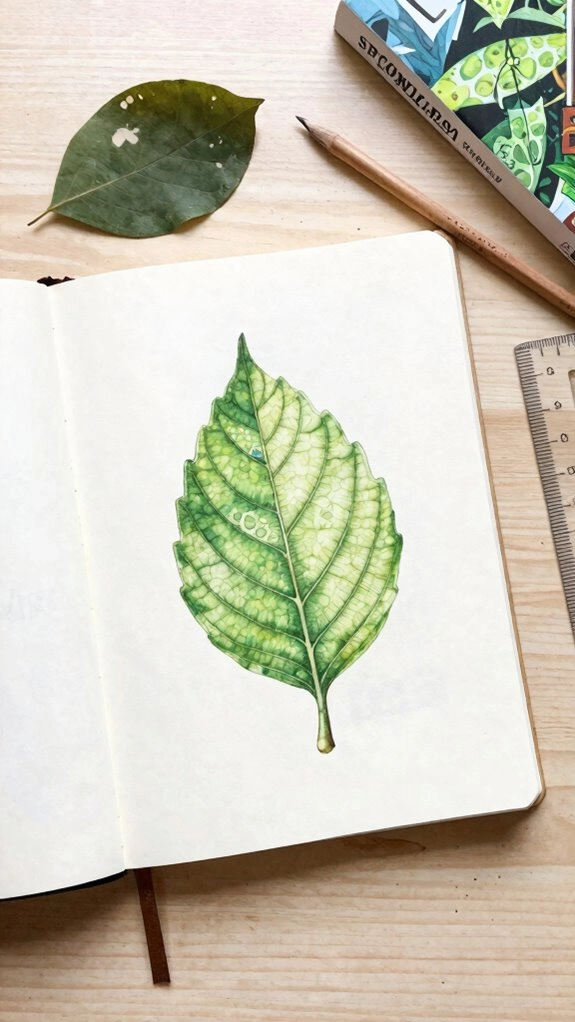
A balanced cover tells two stories: what you love and what you’ll study. Choose exactly 10 images, with five science pictures and five personal favorites. This helps your notebook feel like it belongs to you and your science class.
Follow collage layout rules by spreading each type across the page. Use Color harmony choices to connect different pictures.
Put a volcano near a favorite sport.
Pair ocean waves with a beloved book.
Balance a microscope with favorite food.
Add clouds beside an inspiring quote.
Use Chromebook searches or magazine cutouts to gather options. Choose school-appropriate images your teacher approves. Printed personal photos can make your cover feel even more special.
Tape Every Image to the Cover
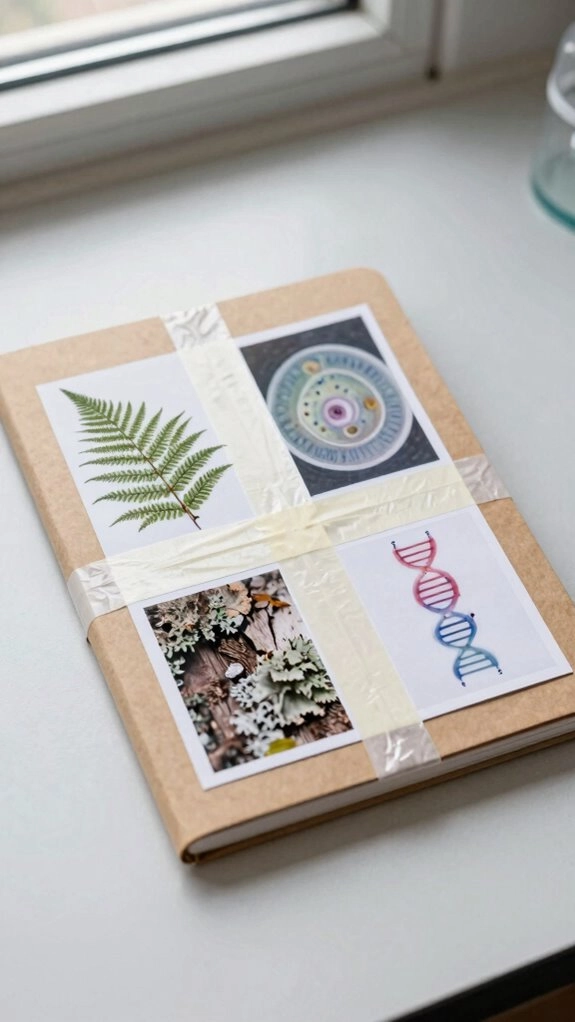
Once you’ve arranged your 10 images, tape each one to the cover. Put Scotch tape on the back of every picture, then press it down firmly. This keeps your design together like the creative science community you’re joining.
Tape free adhesion may sound easy, but loose images can fly off and mix with other notebooks. Choose removable methods only if you expect to change pictures later.
Your tape size choice should match each image, so edges stay neat. Use cut corner tips for tiny pieces.
When every image is secure, cover the collage with clear heavy-duty packing tape. It protects your work during wet lab days.
Add Your Name and Period Label
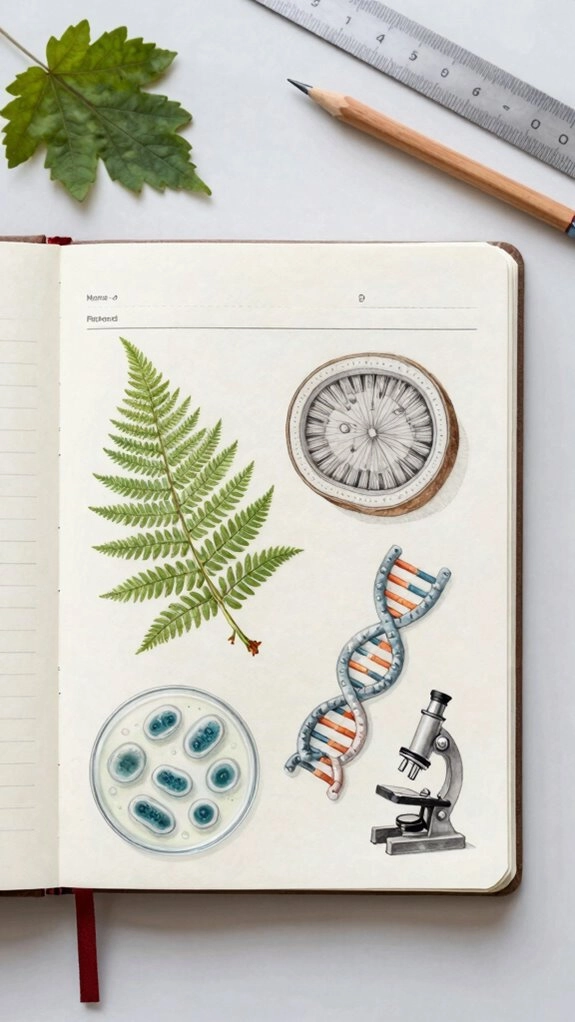
Add a small label with your name and period where everyone can see it.
Write neatly in permanent marker so it won’t smudge during busy lab days.
Center the label carefully without covering your favorite cover images.
Clear Name Placement
Before you tape your science cover, place a clear name and period label on it. This simple step supports Notebook organization and helps your notebook feel like part of the class community. Write boldly with marker on a small paper slip. Choose an open, flat spot so pictures won’t hide your information. Check that it belongs to you before tape locks it in.
- A bright name standing out on a clean corner
- Clear title placement beside your science images
- Class friendly labeling that prevents notebook mix-ups
- Daily visibility notes everyone can read quickly
Your label stays neat, readable, and ready for class.
Visible Period Label
How will you spot your science notebook quickly in a tall stack? Add your name and period number on a small paper label near the top front. This simple notebook labeling step supports Classroom organization and helps your classmates recognize their own work too.
Use the same handwriting style on every notebook. It becomes part of your personal study habits and makes your supplies feel connected.
If you create a collage cover, leave room for the label before taping. Follow tape safety tips by smoothing clear heavy-duty packing tape carefully over the cover.
Keep the period visible, so your science group can start class faster.
Cover the Notebook With Clear Packing Tape
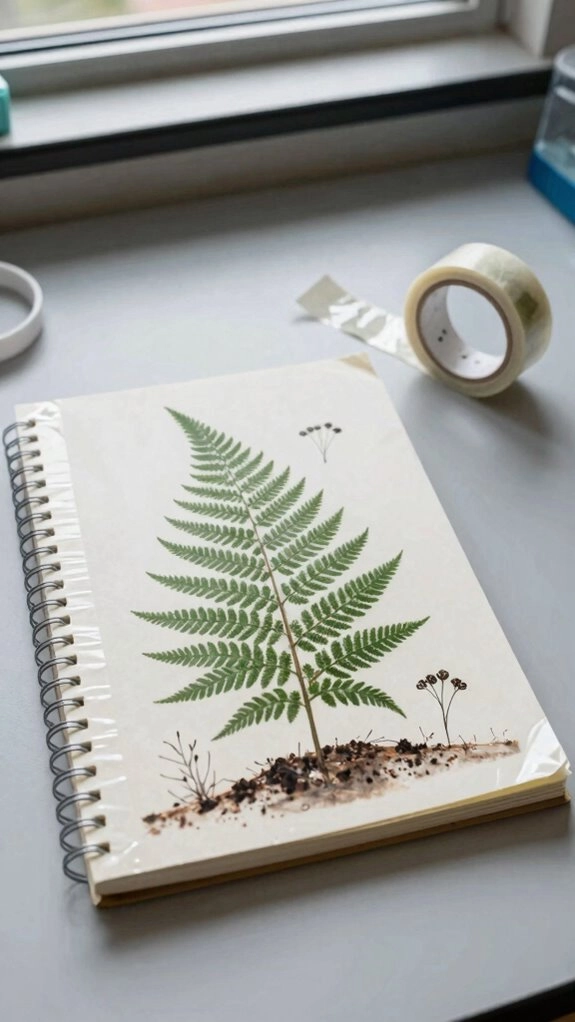
Once your collage looks just right, seal the whole cover with clear heavy-duty packing tape.
First, secure each image’s back with Scotch tape so nothing shifts.
Then smooth packing tape across the outside.
Your pictures and School year labeling stay visible beneath the glossy layer.
This Durable notebook decor helps your notebook feel like part of your science community.
- Bright planets shining under clear tape
- Your name and period label showing proudly
- Smooth edges holding every image in place
- A glossy cover ready for daily class use
Press gently from the center outward to remove air bubbles.
You’ll create a neat cover that encourages ownership and care.
Make Your Cover Water-Resistant for Labs
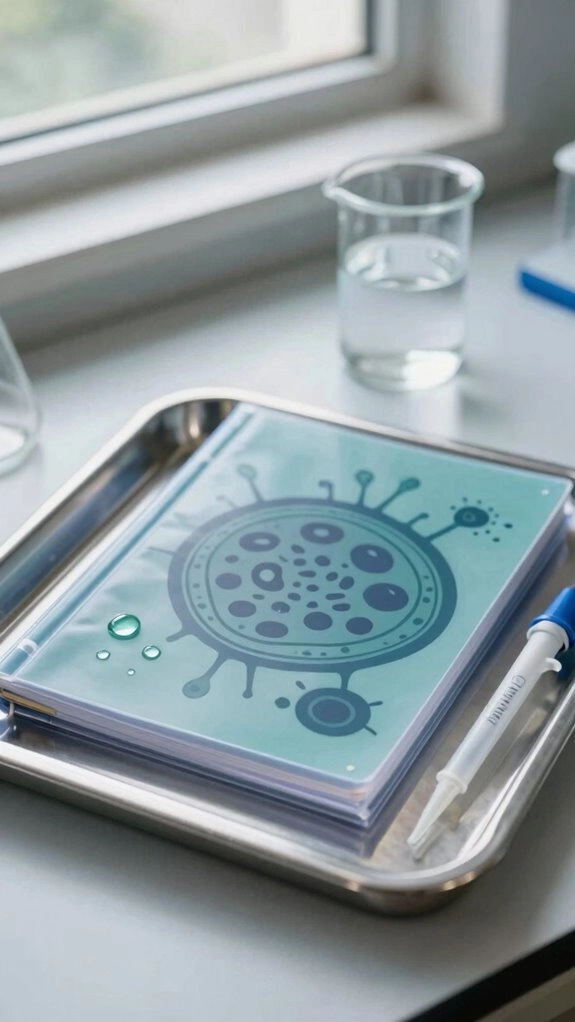
Now you can protect your science cover from splashes during busy lab days. First, use Scotch tape behind each of your 10 images. This keeps them from moving or getting mixed with classmates’ notebooks. Keep your name and period label on the front for label safe attachment before sealing.
Then smooth clear heavy-duty packing tape across the entire outside cover. Cover every image fully so spills are less likely to reach the paper.
Your colorful duct tape borders can still show around the edges. This strong clear layer helps your notebook stay neat through wet experiments, frequent handling, and a whole semester of science learning.
Use Sharpies, Stickers, or a Dividing Page
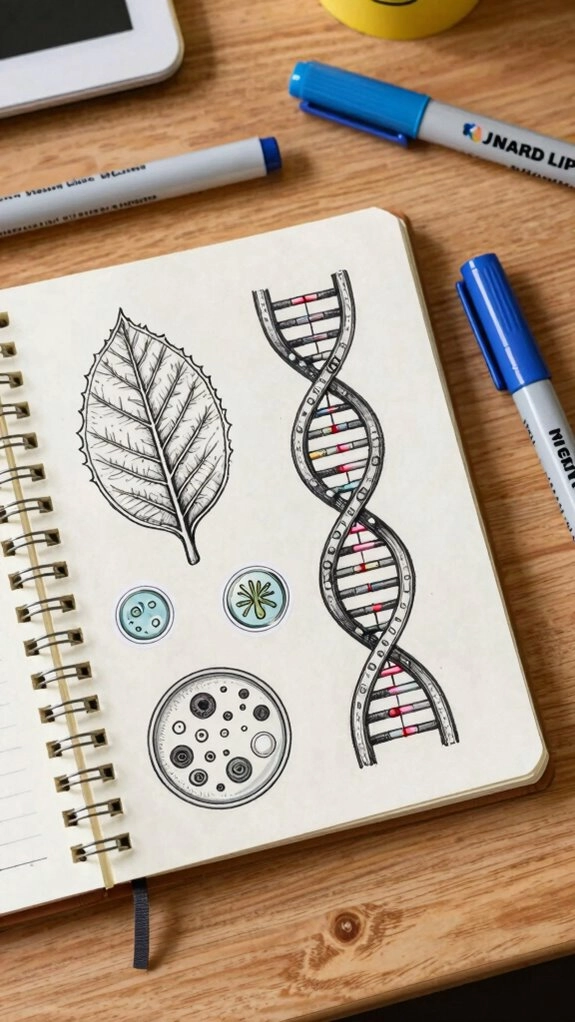
With your cover protected, you can choose a design method that fits your style. Use your Waterproofing tips first, then plan label organization before coloring or taping.
A dividing page keeps topics, “Title,” vocabulary, and images neat. Or wait for a solid-color notebook and use black Sharpies for bold, readable words. Stickers look fun, but they may not show every science term.
- Draw a black Sharpie title across a blue cover
- Arrange vocabulary beside tiny planet or cell images
- Use color marker planning for clear sections
- Follow a sticker placement strategy around the edges
Pick the layout you can maintain. Your notebook will feel ready for labs and easy for classmates to recognize.
Make Your Science Notebook Feel Like Yours
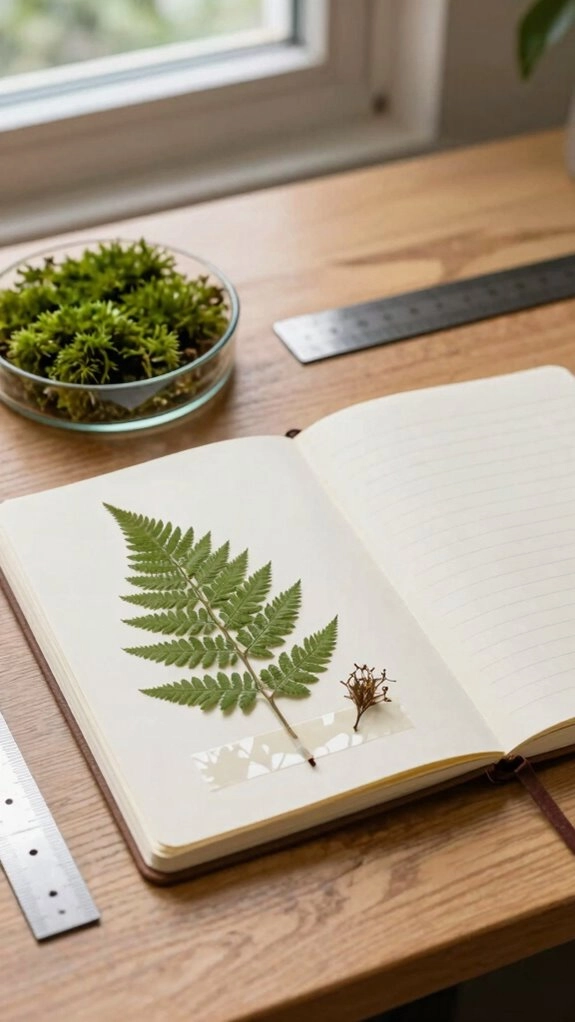
Your science notebook can show your interests as well as your class topics. Choose 10 images: five science pictures and five favorites from your life. Print, photograph, or cut them from magazines. Follow teacher rules when choosing images.
| Science ideas | Personal ideas | Why it matters |
|---|---|---|
| Atoms | Sports | Shows you |
| Oceans | Books | Builds belonging |
| Clouds | Food | Sparks curiosity |
| Volcanoes | Quotes | Starts conversations |
Overlap pictures if you’d like, then tape every back securely. Add your name and period label. Cover it with clear packing tape for waterproof protection. Science journaling supports personal reflection, curiosity prompts, and goal setting. Add extras later.