


Clay play can boost hand strength and control through 17 simple projects. A tidy clay station makes it easy to start and clean up. Kids can squeeze and smash clay to wake up finger muscles. They can roll snake coils, twist ropes, and braid strands for steadier hands. Letter stamping and name tracing build pre writing skills with gentle resistance. Mini ball sculptures and bead making train precision. A handprint dish creates a lasting gift. More ideas and steps come next.
- Key Takeaways
- Set Up a Mess-Friendly Clay Station
- Choose the Best Clay for Little Hands
- Squeeze and Smash Clay Warm-Ups (Hand Strength)
- Roll Snake Coils for Hand Strength
- Twist and Braid Clay Ropes
- Pinch Pots With Fingers (Tripod Grip Practice)
- Flatten Clay and Roll It Even
- Press Fun Textures Into Clay
- Make Leaf Impressions With Nature Finds
- Poke Patterns With Toothpicks (Pincer Grip)
- Use Cookie Cutters for Grip Control
- Cut Clay Shapes With Scissors (Fine Motor)
- Roll Clay Beads and String Them
- Stamp Letters Into Clay (Pre-Writing)
- Trace Names in Clay (Pencil Control)
- Build Mini Sculptures From Clay Balls
- Make a Handprint Keepsake Dish (Gift Idea)
Key Takeaways
- Set up a dedicated clay station with a wipeable mat, shaping board, and nearby water and towels for quick, stress-free cleanup.
- Start with squeeze, pinch, and smash warm-ups to build grip strength, finger isolation, and sensory comfort before detailed shaping.
- Practice rolling coils, flattening slabs, and braiding ropes to strengthen hands, improve bilateral coordination, and refine pressure control.
- Make pinch pots and decorate with textures, dots, and stamped patterns to develop tripod grip, hand-eye coordination, and precise finger movements.
- Try beads, letter stamping, and name tracing in clay to boost fine-motor precision, spacing control, early writing skills, and sustained attention.
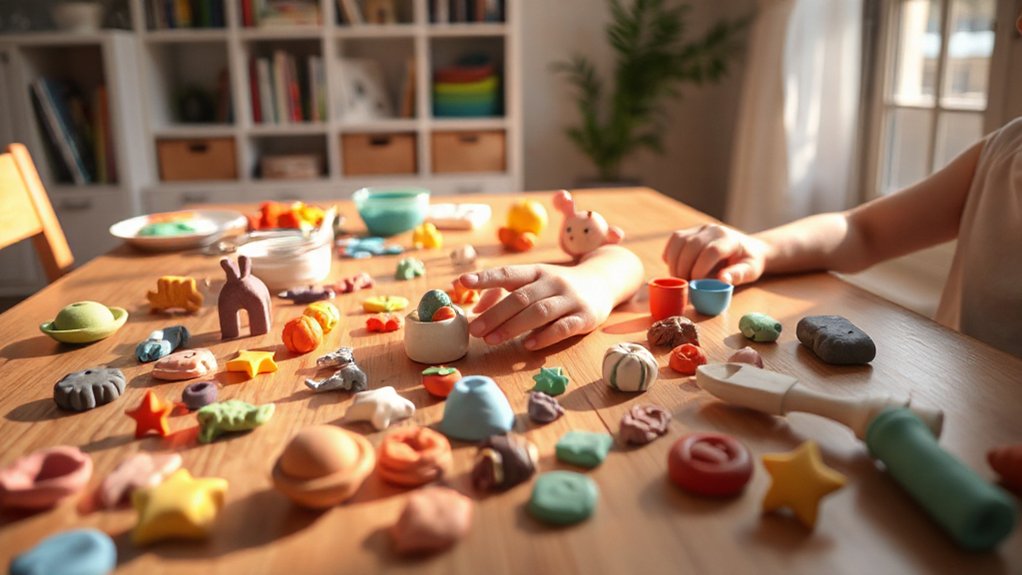
Set Up a Mess-Friendly Clay Station
A few simple choices can make clay time neat and stress free. A clay station helps everyone feel ready to join in. Pick one spot for clay play and keep it the same. Cover the table with a plastic mat or wipeable cloth. This is smart mess management and saves time later. Set out a canvas board or linoleum sheet for shaping clay. These surfaces do not grab clay bits. Keep big sponges, water, and paper towels close by. Quick cleanup stops small spills from spreading. Have kids wear smocks or old shirts. Clothes stay safe and kids feel relaxed. Add good lighting so the space feels bright and welcoming. This creative organization supports focus and fun for all.
Choose the Best Clay for Little Hands
Air-dry clay and polymer clay both work well, but they feel different. Kids should pick clay that stays soft and easy to shape. Adults should choose non-toxic clay that cleans up fast and safely.
Air-Dry Vs Polymer
Choosing clay can feel like picking the right tool for a mini artist. Many kids like knowing their choice fits the group project. With air dry advantages, air-dry clay works without an oven. It suits younger kids and quick crafts. It dries on its own and can be painted later. Polymer clay needs baking, so an adult should help. After baking, polymer durability makes pieces strong and lasting. This helps when kids want to keep a charm or figure. Polymer also comes in many colors and finishes. That makes sharing ideas with friends even easier. Both types support fine motor skills through rolling and shaping. The best pick depends on age, goals, and time. Simple today or detailed keepsakes later work well.
Softness And Workability
Two traits matter most when clay meets little hands: softness and workability. Soft, light clay such as air-dry or self-hardening clay bends to gentle fingers. That quick response gives kids early wins. Early wins help them feel like they belong in the art group. These soft clay benefits build confidence while hands learn steady control. Workability matters too. Pliable clay holds its form as kids pinch and roll. It lets them add small details without the shape collapsing. That cuts frustration and keeps focus on making. It also supports fine motor growth through touch. These tactile exploration advantages come from pressing, smoothing, and carving in many ways. Look for clay that offers:
- Easy shaping with little force
- Clean edges and steady forms
- Lots of textures to feel and test
Safety And Easy Cleanup
Because little hands investigate by squeezing and rubbing, clay must be safe and easy to clean. Families and classmates can feel confident with non toxic air dry clay. It stays soft and bends easily. It also reduces worry if crumbs touch skin. Self hardening or oven bake clay also works when it is chemical free. These safety tips help everyone join in without fear.
Cleanup matters too. Set up a craft spot that feels like a shared studio. Use canvas mats or ceramic tiles under each project. Keep big sponges and a cup of water nearby. Try simple cleanup strategies. Wipe hands first then wipe the work surface. Store extra clay as a ball. Add a drop of water. Seal it in plastic to keep it fresh.
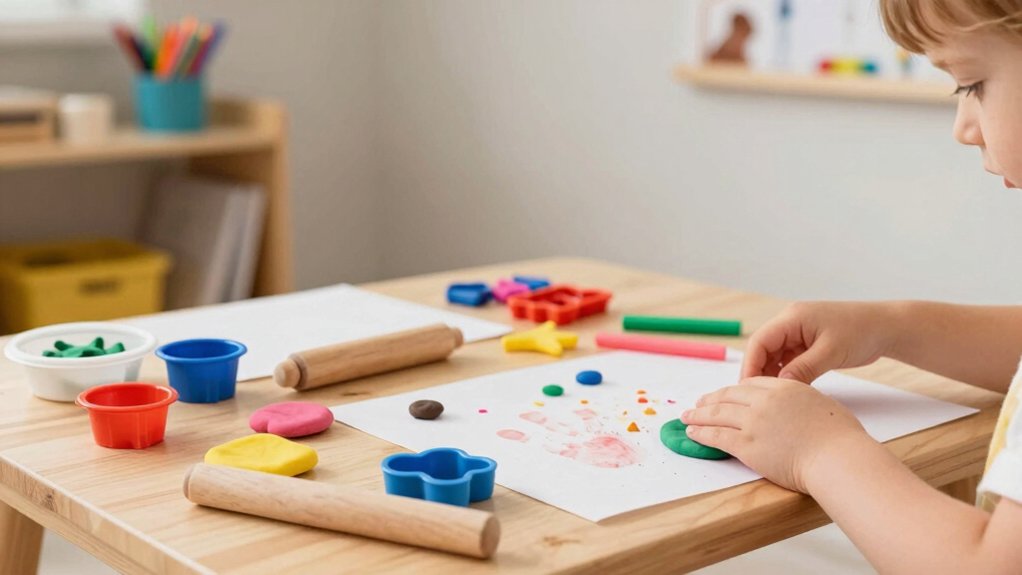
Squeeze and Smash Clay Warm-Ups (Hand Strength)

Squeezing and smashing clay wakes up small hand muscles and builds stronger grip. Quick squeeze warm-up games, then smash, press, and pinch exercises, help hands last longer. These moves also boost control for writing, drawing, and cutting, and they feel fun.


Quick Squeeze Warm-Up Games
Start the clay fun with quick squeeze warm-up games that wake up hands. Kids join in and feel part of the group. They squeeze clay, pinch it, and smash it lightly. This turns on small hand muscles and builds strength. Strong hands help with writing and tool use later. Different clay textures make each try feel new. That supports creative exploration and brave trying. Keep the moves simple so everyone can succeed.
- Roll tiny balls fast, then pause and breathe for ten seconds.
- Flatten a small lump with a fist, then reshape it slowly.
- Switch hands each turn to build balance and steady control.
These games fit into daily routines and grow endurance over time.
Smash, Press, And Pinch Exercises
Grab a lump of clay and let hands get busy with smash, press, and pinch moves. These warm-ups wake up small hand muscles. They build strength and endurance for writing and coloring. Squeezing adds steady resistance. That boosts grip strength and supports fine motor control. Pinching off tiny bits trains finger isolation and coordination. This helps with scissors and holding pencils. Smashing and pressing also invite sensory play. Kids notice texture and softness as shapes change. Doing these moves together helps everyone feel included in the clay circle. These clay benefits show up during daily school tasks.
| Move | What it builds |
|---|---|
| Squeeze | Grip strength |
| Pinch | Finger control |
| Smash | Endurance |
| Press | Sensory focus |
Roll Snake Coils for Hand Strength
Roll a lump of clay back and forth to make a long snake coil. Keep palms flat and fingers relaxed. This simple motion wakes up hand muscles. It builds strength through steady gripping and pushing. These clay rolling techniques also train control, so coils look even. Kids can watch the coil as it grows. That practice boosts hand-eye coordination. Repeating the roll helps hands last longer in class work. It can make writing feel easier later. Working together also feels welcoming, since everyone can share progress. Try these snake coil benefits during a calm clay break:
- Roll slowly to match thickness from end to end.
- Squeeze lightly to fix thin spots without flattening.
- Use a plastic knife or extruder to add grip practice.
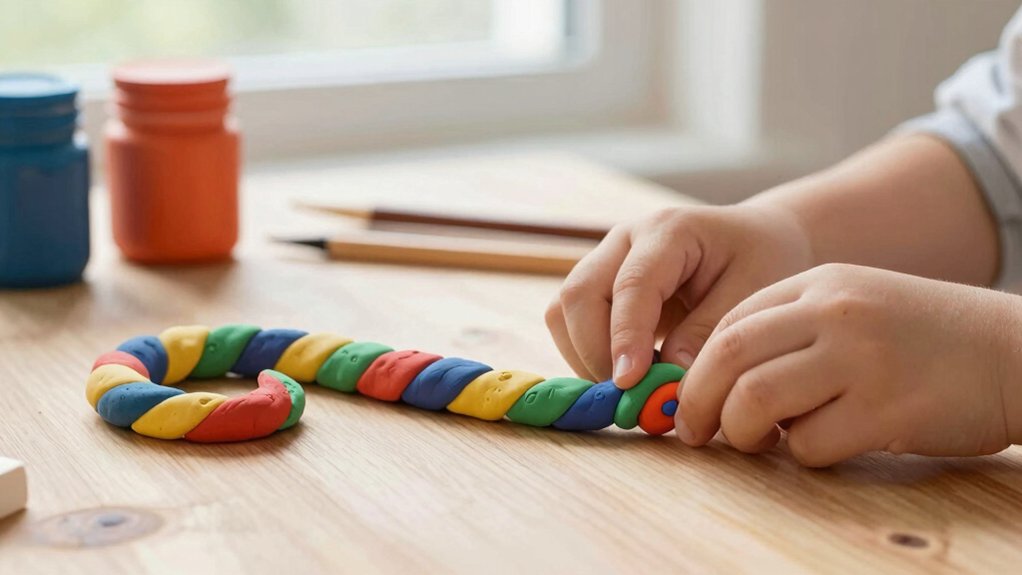
Twist and Braid Clay Ropes
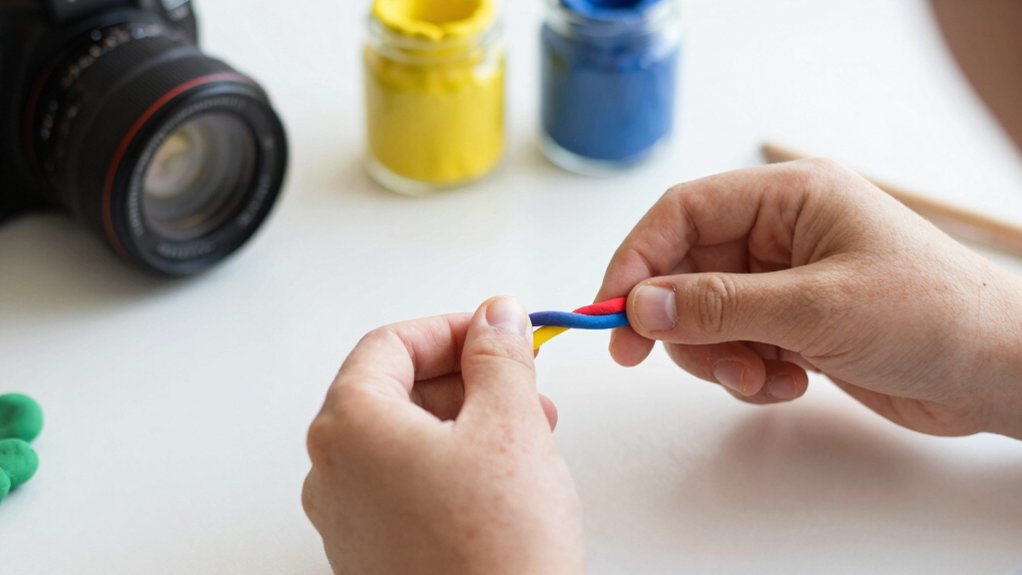
Twist two soft clay ropes together and watch a new pattern appear. Then try braiding three ropes like hair. These steady moves wake up small hand muscles. They also train hand and eye to work as a team.
As kids roll and turn the clay, they practice grip strength. The fingers squeeze, guide, and adjust with each twist. This builds endurance for writing, drawing, and cutting later. Rope thickness variations add a smart challenge. Thin ropes need gentle pressure. Thick ropes need stronger pushes and steady control.
Clay color combinations make the work feel personal and shared. A friend can choose colors too. Together they can compare stripes, spirals, and braids. The slow rhythm feels calming and helps focus.
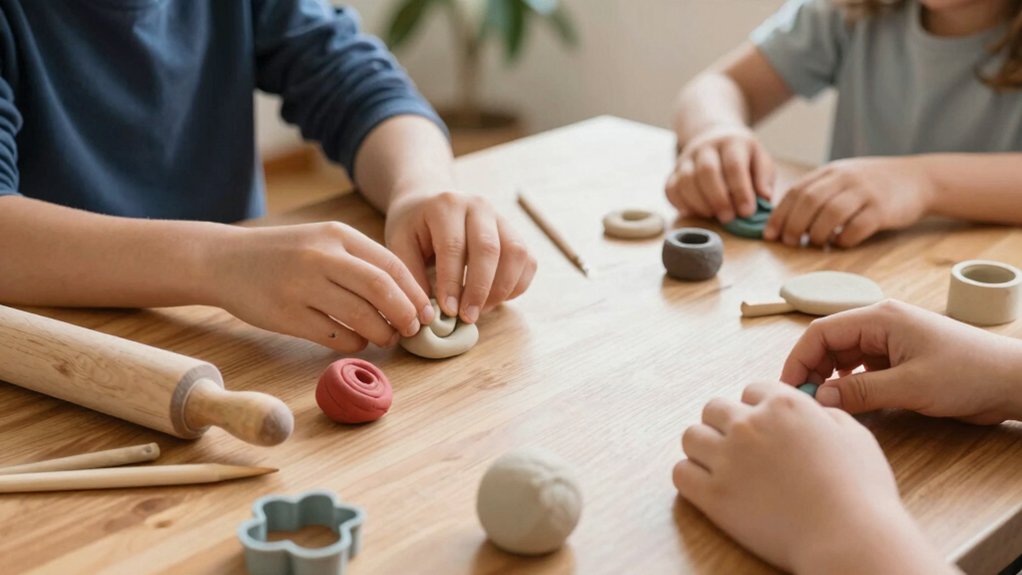
Pinch Pots With Fingers (Tripod Grip Practice)
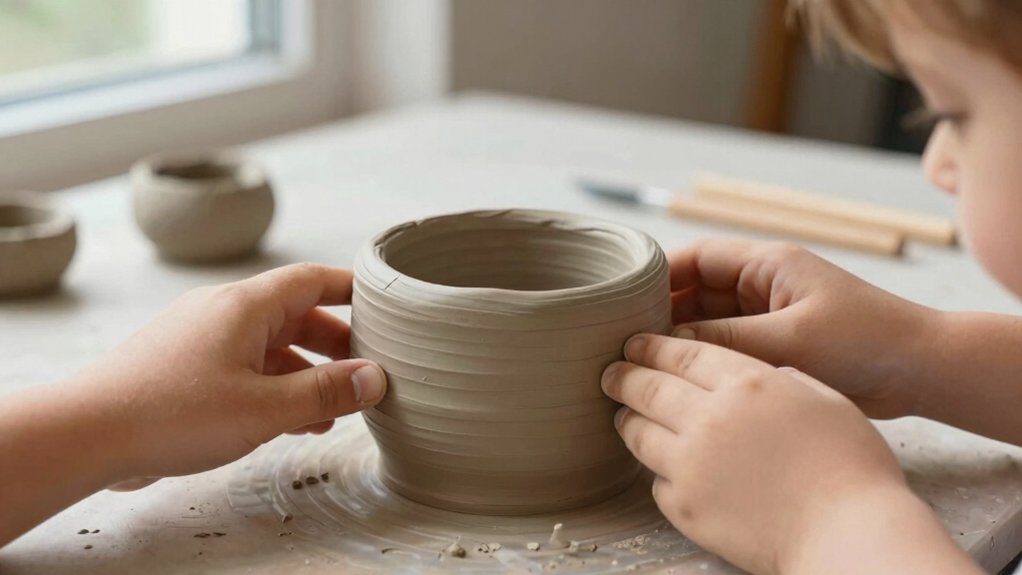
Pinch pots start with a clay ball, then thumb-and-finger pinching makes a bowl shape. This steady pinching builds tripod grip strength, which helps with neat writing. Next, simple decorating techniques like tiny coils or stamp marks add style and control.
Thumb-and-Finger Pinching
Start with a small ball of clay and shape it into a tiny bowl. A child uses thumb and two fingers to pinch the rim. This matches the tripod grip used for writing and drawing. With practice, the fingers move together in a steady rhythm. That teamwork builds fine motor control and better dexterity. It also supports hand strength and can reduce hand fatigue later. Everyone in the group can compare bowls and share ideas. That makes the task feel welcoming and shared. These pinch pot techniques double as clay shaping exercises that feel creative and calm. Focus on small pinches and smooth turns. Try these steps:
- Pinch the rim, then rotate the bowl slightly.
- Keep the walls even by pinching gently each time.
- Press and smooth to fix bumps and cracks.
Tripod Grip Strength Building
After making a simple bowl, the same clay can help build tripod grip strength. A pinch pot is perfect for this practice. Kids press the clay with the thumb, index, and middle fingers. That finger team is called the tripod grip. It is the same grip used for pencils and scissors later.
During clay molding, a child pinches, turns, and pinches again. Small moves make the walls even and smooth. Each pinch builds stronger fingers and better control. Eyes watch the rim while hands adjust the shape. This helps hand eye coordination. Children can try tiny pots or wide pots. They can also make tall sides or shallow sides. Working side by side, everyone can share ideas and feel included.
Simple Pot Decorating Techniques
Many simple decorations can turn a small clay pot into a special treasure. A pinch pot starts as a clay ball. A child presses a thumb into the center. Then the fingers pinch the walls. This builds the tripod grip used for writing. It also trains hand strength and steady control. Decorating makes the practice feel shared and meaningful.
- Make textures with a twig, shell, or safe tool. Press gently and stay in control.
- Add small clay embellishments like coils or dots. Hold the pot with one hand. Use the other to place each piece.
- Finish with colorful glazes after the pot dries. Paint slowly and keep lines neat.
Each step helps fingers work together and creates a proud result.
Flatten Clay and Roll It Even
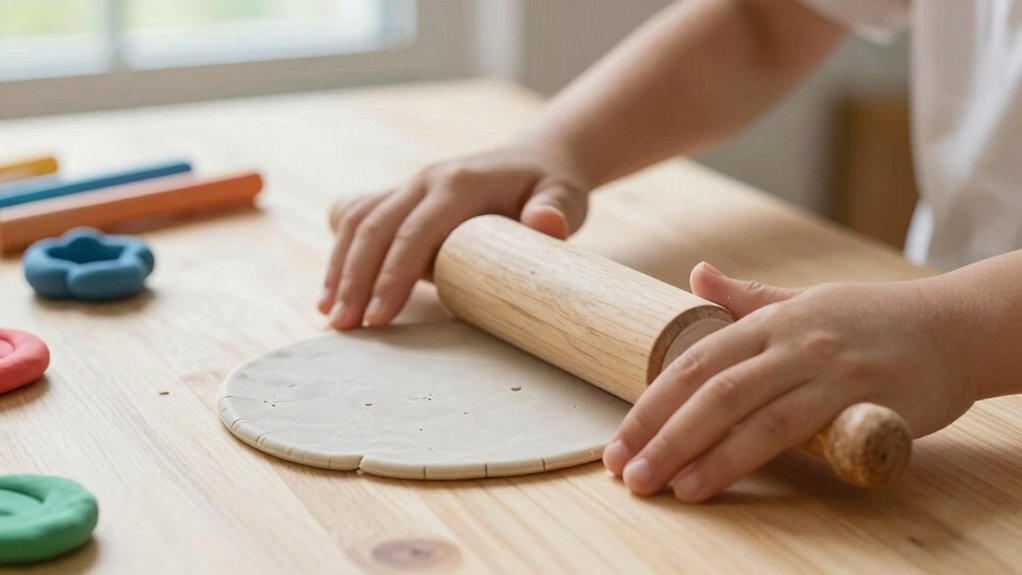
Press the clay down and watch it spread into a smooth, flat sheet. Kids can use hands or a rolling pin. These flattening techniques build hand strength and dexterity through steady pressure. Rolling patterns help keep the sheet even and neat. One hand can hold the clay while the other rolls. That teamwork supports bilateral coordination. As the clay cools or warms under fingers, kids investigate texture and temperature. This sensory play supports thinking and focus. They also watch the edges and thickness as they roll. That practice improves hand-eye coordination. Everyone can try it together and compare results kindly.
| Tool | What to do | Skill it builds |
|---|---|---|
| Palms | Press and smooth | Strength |
| Rolling pin | Roll to even thickness | Control |
| Fingers | Guide edges | Precision |
Press Fun Textures Into Clay

After rolling the clay flat, kids can press texture tools from home into it. Leaves, fabric, and small textured toys make nature prints and bold patterns. Each press builds motor skills as hands push, lift, and try new pressure levels.
Texture Tools From Home
A kitchen drawer can turn into a toolbox for clay textures. Kids can press simple tools into soft clay and watch textured patterns appear. This kind of creative exploration feels like joining a small art team. Each new mark is a fresh idea to share. Rolling and pressing also builds hand strength and control. That helps fine motor skills during everyday tasks. Try these home tools and compare the results.
- Forks and combs: drag or tap them to make lines.
- Textured fabric: press it down to copy the weave.
- Buttons or coins: stamp shapes in rows or circles.
Encourage steady pressure and slow movements. Kids can trade tools and learn together.
Nature Prints And Patterns
Home tools make great marks, but nature offers even more texture ideas. Kids can press leaves, flowers, bark, or stones into soft clay. Each print shows tiny lines and shapes that feel new. This builds nature appreciation while everyone shares findings together. It also supports artistic expression as children mix patterns and plan designs. They watch closely and learn names and details. The activity invites calm talks about the environment and why it matters.
| Natural item | What to notice | Pattern idea |
|---|---|---|
| Leaf | Veins and edges | Make a border band |
| Flower | Petal shapes | Create a sunburst |
| Pine needle | Thin lines | Fill a small area |
Motor Skills Through Pressing
Press, lift, and look closely as textures sink into soft clay. Kids can press leaves, fabric, or tools to make clear marks. This texture exploration wakes up the senses and feels inviting. It also builds fine motor skill control in a calm way.
Pressing takes hand strength. Children learn to use light and strong pressure. They see how each choice changes the imprint. This practice builds endurance and dexterity over time. Hand-eye coordination grows as they line up tools and aim patterns. Creative expression also blooms when designs become their own.
- Try three tools and compare the prints.
- Change pressure and notice new details.
- Ask, “What does this texture remind you of?”
Sharing ideas helps everyone feel included.
Make Leaf Impressions With Nature Finds

When kids head outside with a sharp eye, leaves become amazing tools for clay art. They can feel like part of a nature club as they investigate leaf selection. Big maple leaves, ferns, and tiny sprigs all make different marks. Kids roll out clay into a flat pad. Then they press each leaf down firmly. These impression techniques help them notice veins and edges. Next they lift the leaf with care using fingers. A small tool can help too. This builds hand control and patience. The clay can air dry or bake with help. Kids watch it change and learn cause and effect. When it is dry they paint the print. Color adds pride and personal style.
Poke Patterns With Toothpicks (Pincer Grip)
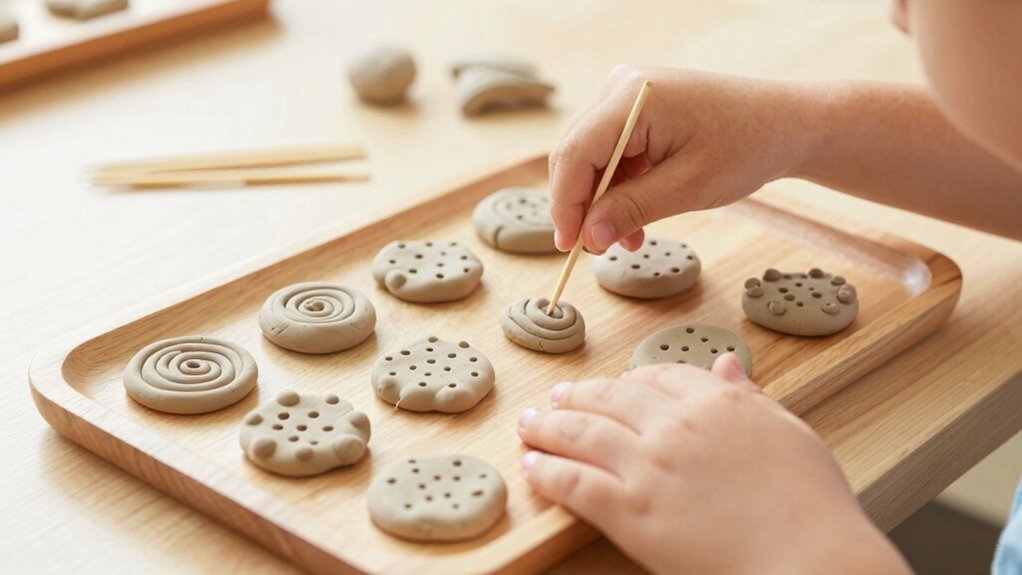
A single toothpick can turn a smooth clay pad into a field of tiny designs. Children hold the toothpick with thumb and finger. This supports pincer grip development for careful tasks like writing. They press, lift, and aim again. Each poke builds fine motor improvement and stronger hand muscles. Eyes and hands work together to place dots and lines neatly. The clay feels cool and soft, and new textures appear fast. This is a quiet way to join in and share ideas. Adults can ask open questions so kids describe their choices and steps. Try pattern goals like these:
- Make rows of dots that stay evenly spaced.
- Draw zigzags and spirals with careful pokes.
- Create a border around a shape and fill it.
Use Cookie Cutters for Grip Control
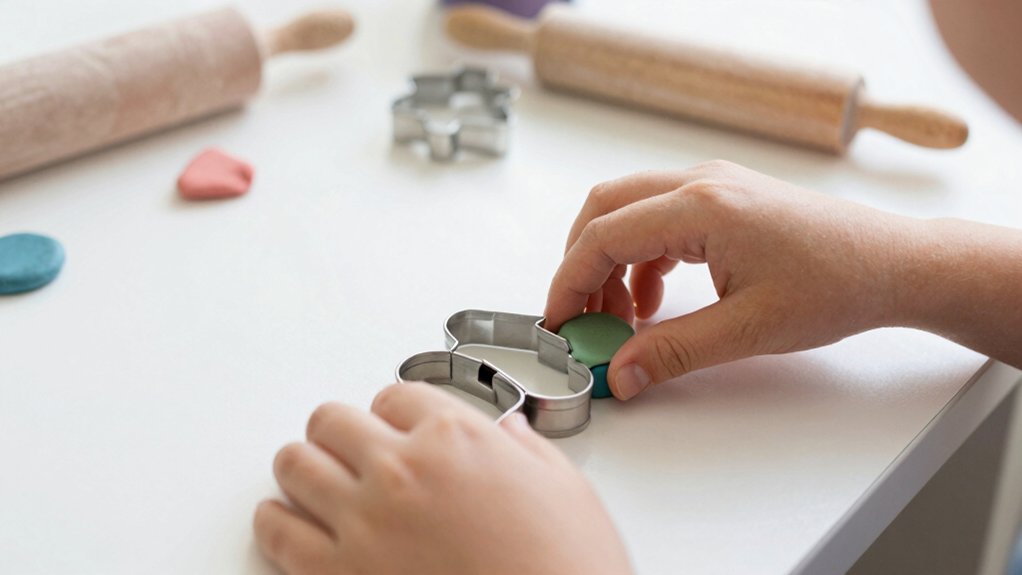
Even simple cookie cutters can teach strong, steady hands during clay play. A child holds the cutter, lines it up, and presses down. That press needs strength and careful aim. Hands learn to stay firm while fingers guide the edge. This builds grip control that supports many school tasks later.
Cookie cutter creativity also invites kids to try new ways to move. They can push, twist, and lift the cutter without tearing the clay. One hand holds the clay steady while the other hand works. That teamwork trains bilateral coordination. Shape exploration keeps the activity fresh and welcoming. Kids can trade cutters and compare sizes. They feel like part of a group that makes art together.
Cut Clay Shapes With Scissors (Fine Motor)
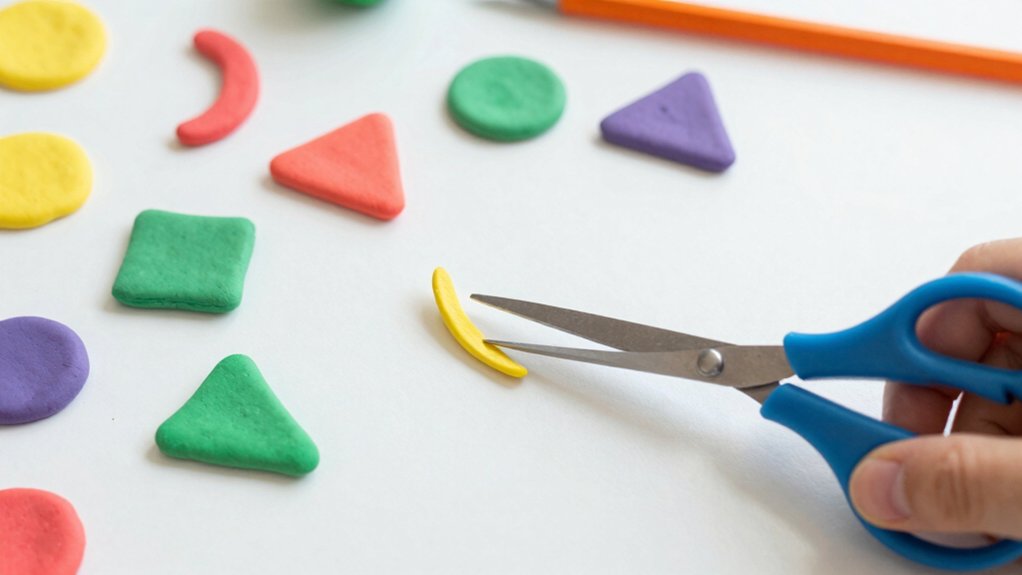
Snip through soft clay and watch simple shapes appear in seconds. This activity helps kids build fine motor control. Small, careful cuts train the hands for writing and coloring. It also builds grip strength as fingers open and close the scissors.
For scissor safety, an adult can model slow cutting first. Kids can press the clay flat, then draw lines to follow. That boosts visual and hand teamwork. Using safety scissors or decorative edges keeps practice fresh and supports creative designs. With time, kids feel confident and steady. They also feel proud to share results with the group.
- Draw a line and cut right on it.
- Try zigzags, curves, and tiny corners.
- Switch scissor types to match each challenge.
Roll Clay Beads and String Them
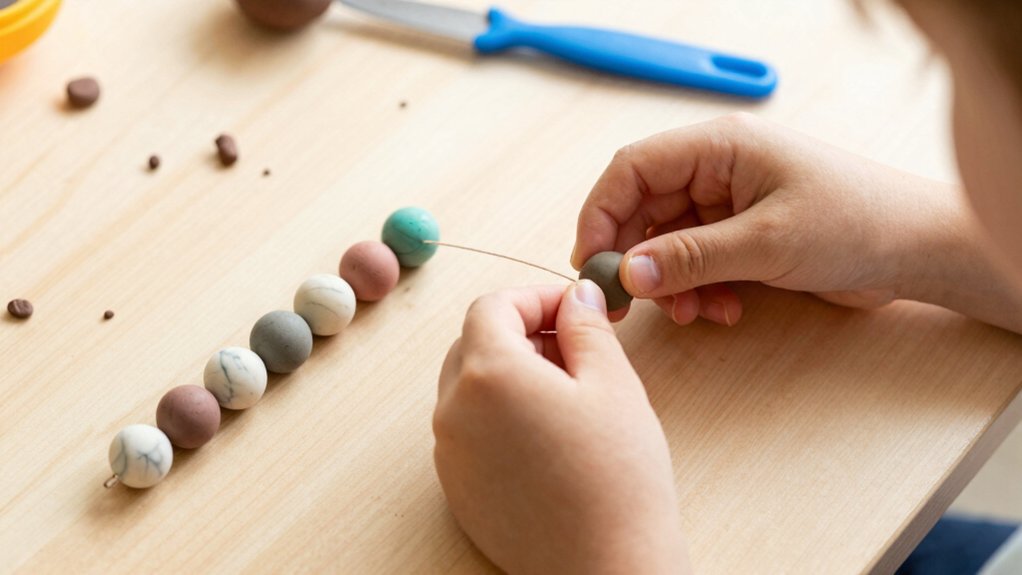
After cutting clay shapes with scissors, hands can switch to rolling tiny beads. Rolling small balls builds hand strength and steady control. Kids try to make beads the same size. This boosts fine motor skills and patience. Different textures and sizes add new ideas to investigate. Each child can choose a style that feels like them.
Next comes stringing beads onto yarn or a string. This step trains hand eye coordination and careful aiming. The bead hole must line up with the string. Kids can practice counting as they build a pattern. Bead color recognition also grows as colors repeat and change. The slow rolling and threading feels calm and steady. These sensory crafting benefits can help focus and lower stress. Everyone can share designs and feel included.
Stamp Letters Into Clay (Pre-Writing)
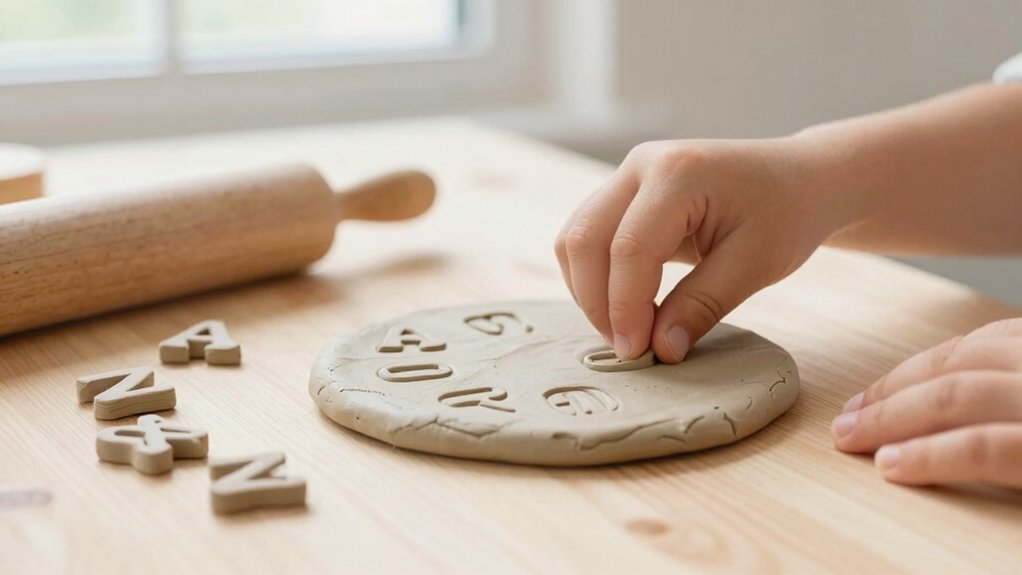
Press letter stamps into soft clay and watch clear marks appear right away. This feels like joining a team of makers who learn by doing. Each press builds strong fingers and steady hands. Kids can try light and hard pressure and notice the change. That practice supports letter recognition and letter formation without stress. Different stamp sizes and bumpy handles add sensory investigation that keeps attention strong. Spacing letters across the clay also trains eyes and hands to work together. It helps children plan where each mark should go. It can even inspire small art scenes around the letters. Invite everyone to share their stamped tiles and cheer each try.
- Press straight down for clean edges.
- Leave a small gap between letters.
- Mix textures to investigate how stamps feel.
Trace Names in Clay (Pencil Control)
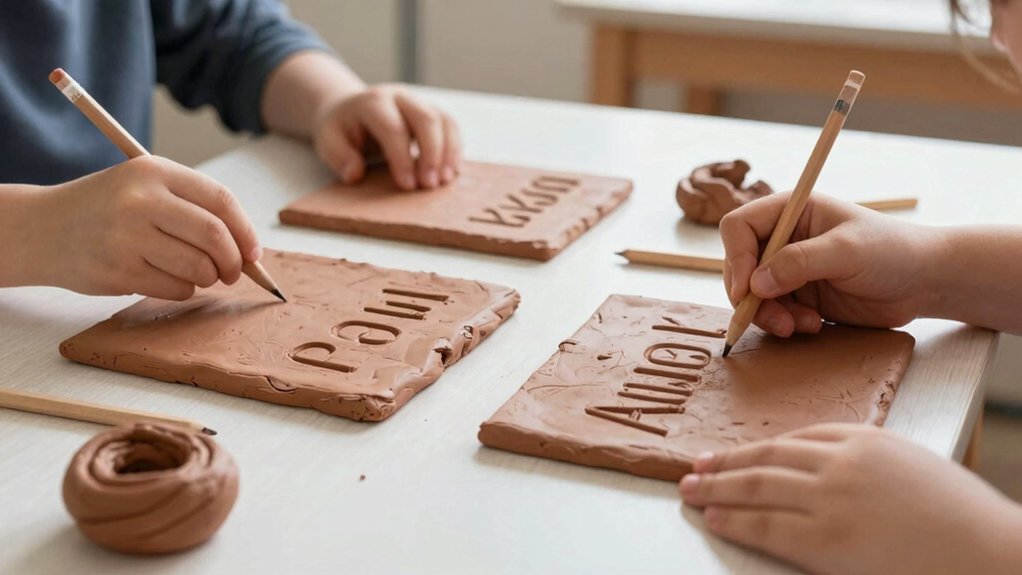
Glide a pencil tip through soft clay and let a name appear like a path. In this quiet, fun task, children see letters form as they move. Name tracing helps them learn how each letter should look. They press and pull the tip to make clear grooves. This builds pencil control in a real and hands on way.
A child can hold the pencil with a tripod grasp. That grip builds strength and steadiness in the fingers. The clay gives gentle resistance, so hands must guide each turn. Sensory play also helps hand and eye work together. These clay benefits support letter recognition and early writing skills. It feels good to practice and belong with others.
Build Mini Sculptures From Clay Balls
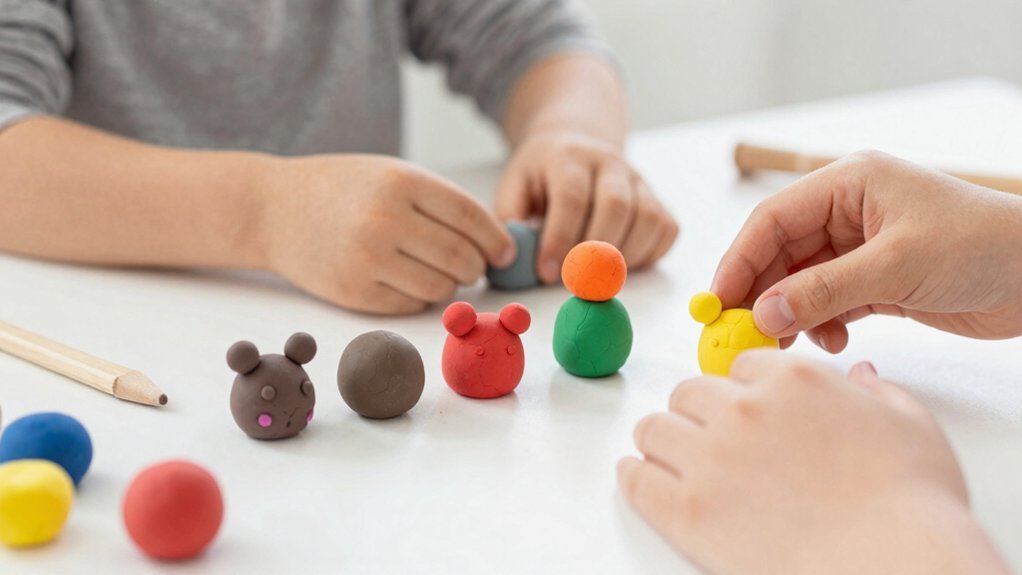
Names can be traced in clay, and clay can also become tiny 3D art. Kids can roll small clay balls, then pinch and shape them. These actions build fine motor skills and steady finger control. They also guide the eyes and hands to work together.
Mini sculptures work best when children join many balls. They solve problems as they balance pieces and press them together. They can pick sculpture themes like animals, robots, or snacks. They can try creative combinations to make something new. Working side by side helps everyone feel included and brave.
- Roll equal balls to plan each body part.
- Press gently to attach, then smooth the seams.
- Add tiny balls for details like eyes or buttons.
Make a Handprint Keepsake Dish (Gift Idea)
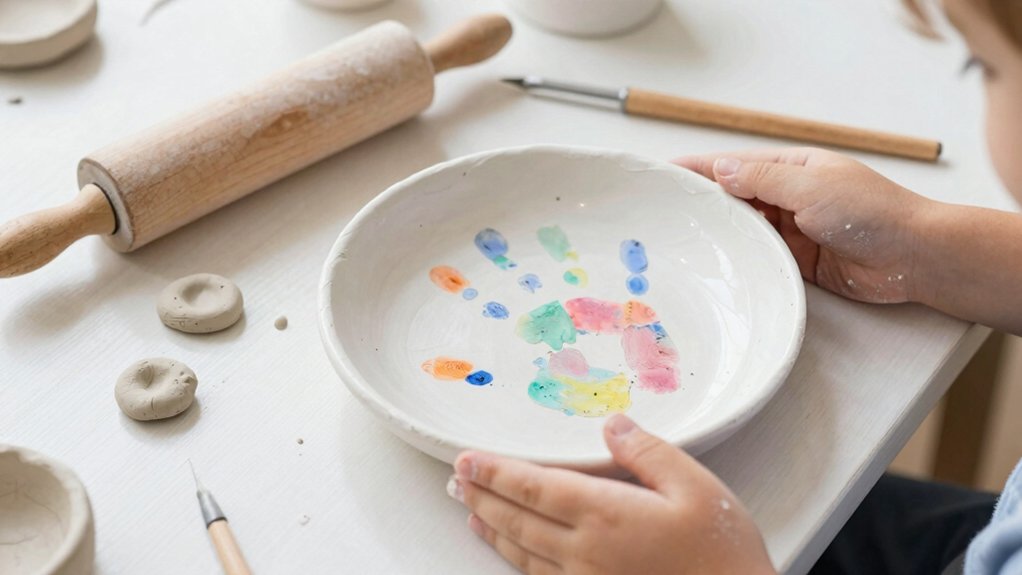
A simple circle of clay can turn into a dish that saves a moment. Start by rolling air dry clay into a flat circle. Keep it about one fourth inch thick. This helps it dry evenly and stay strong. Then place a child’s hand in the center. Press gently to make a clear print. Do not press too deep. A deep push can crack the clay later.
Next trim the edge with a plastic knife or clay tool. Make the rim smooth and neat. Choose a round or square shape. Let the dish dry completely. After that paint it with non toxic acrylics. Glaze it for shine and protection. These handprint memories become creative keepsakes. Clay work also builds fine motor control for growing hands.


